Compress Picture on Macbook Pro


Discover how to easily compress Picture on macbook pro and make the most of your documents
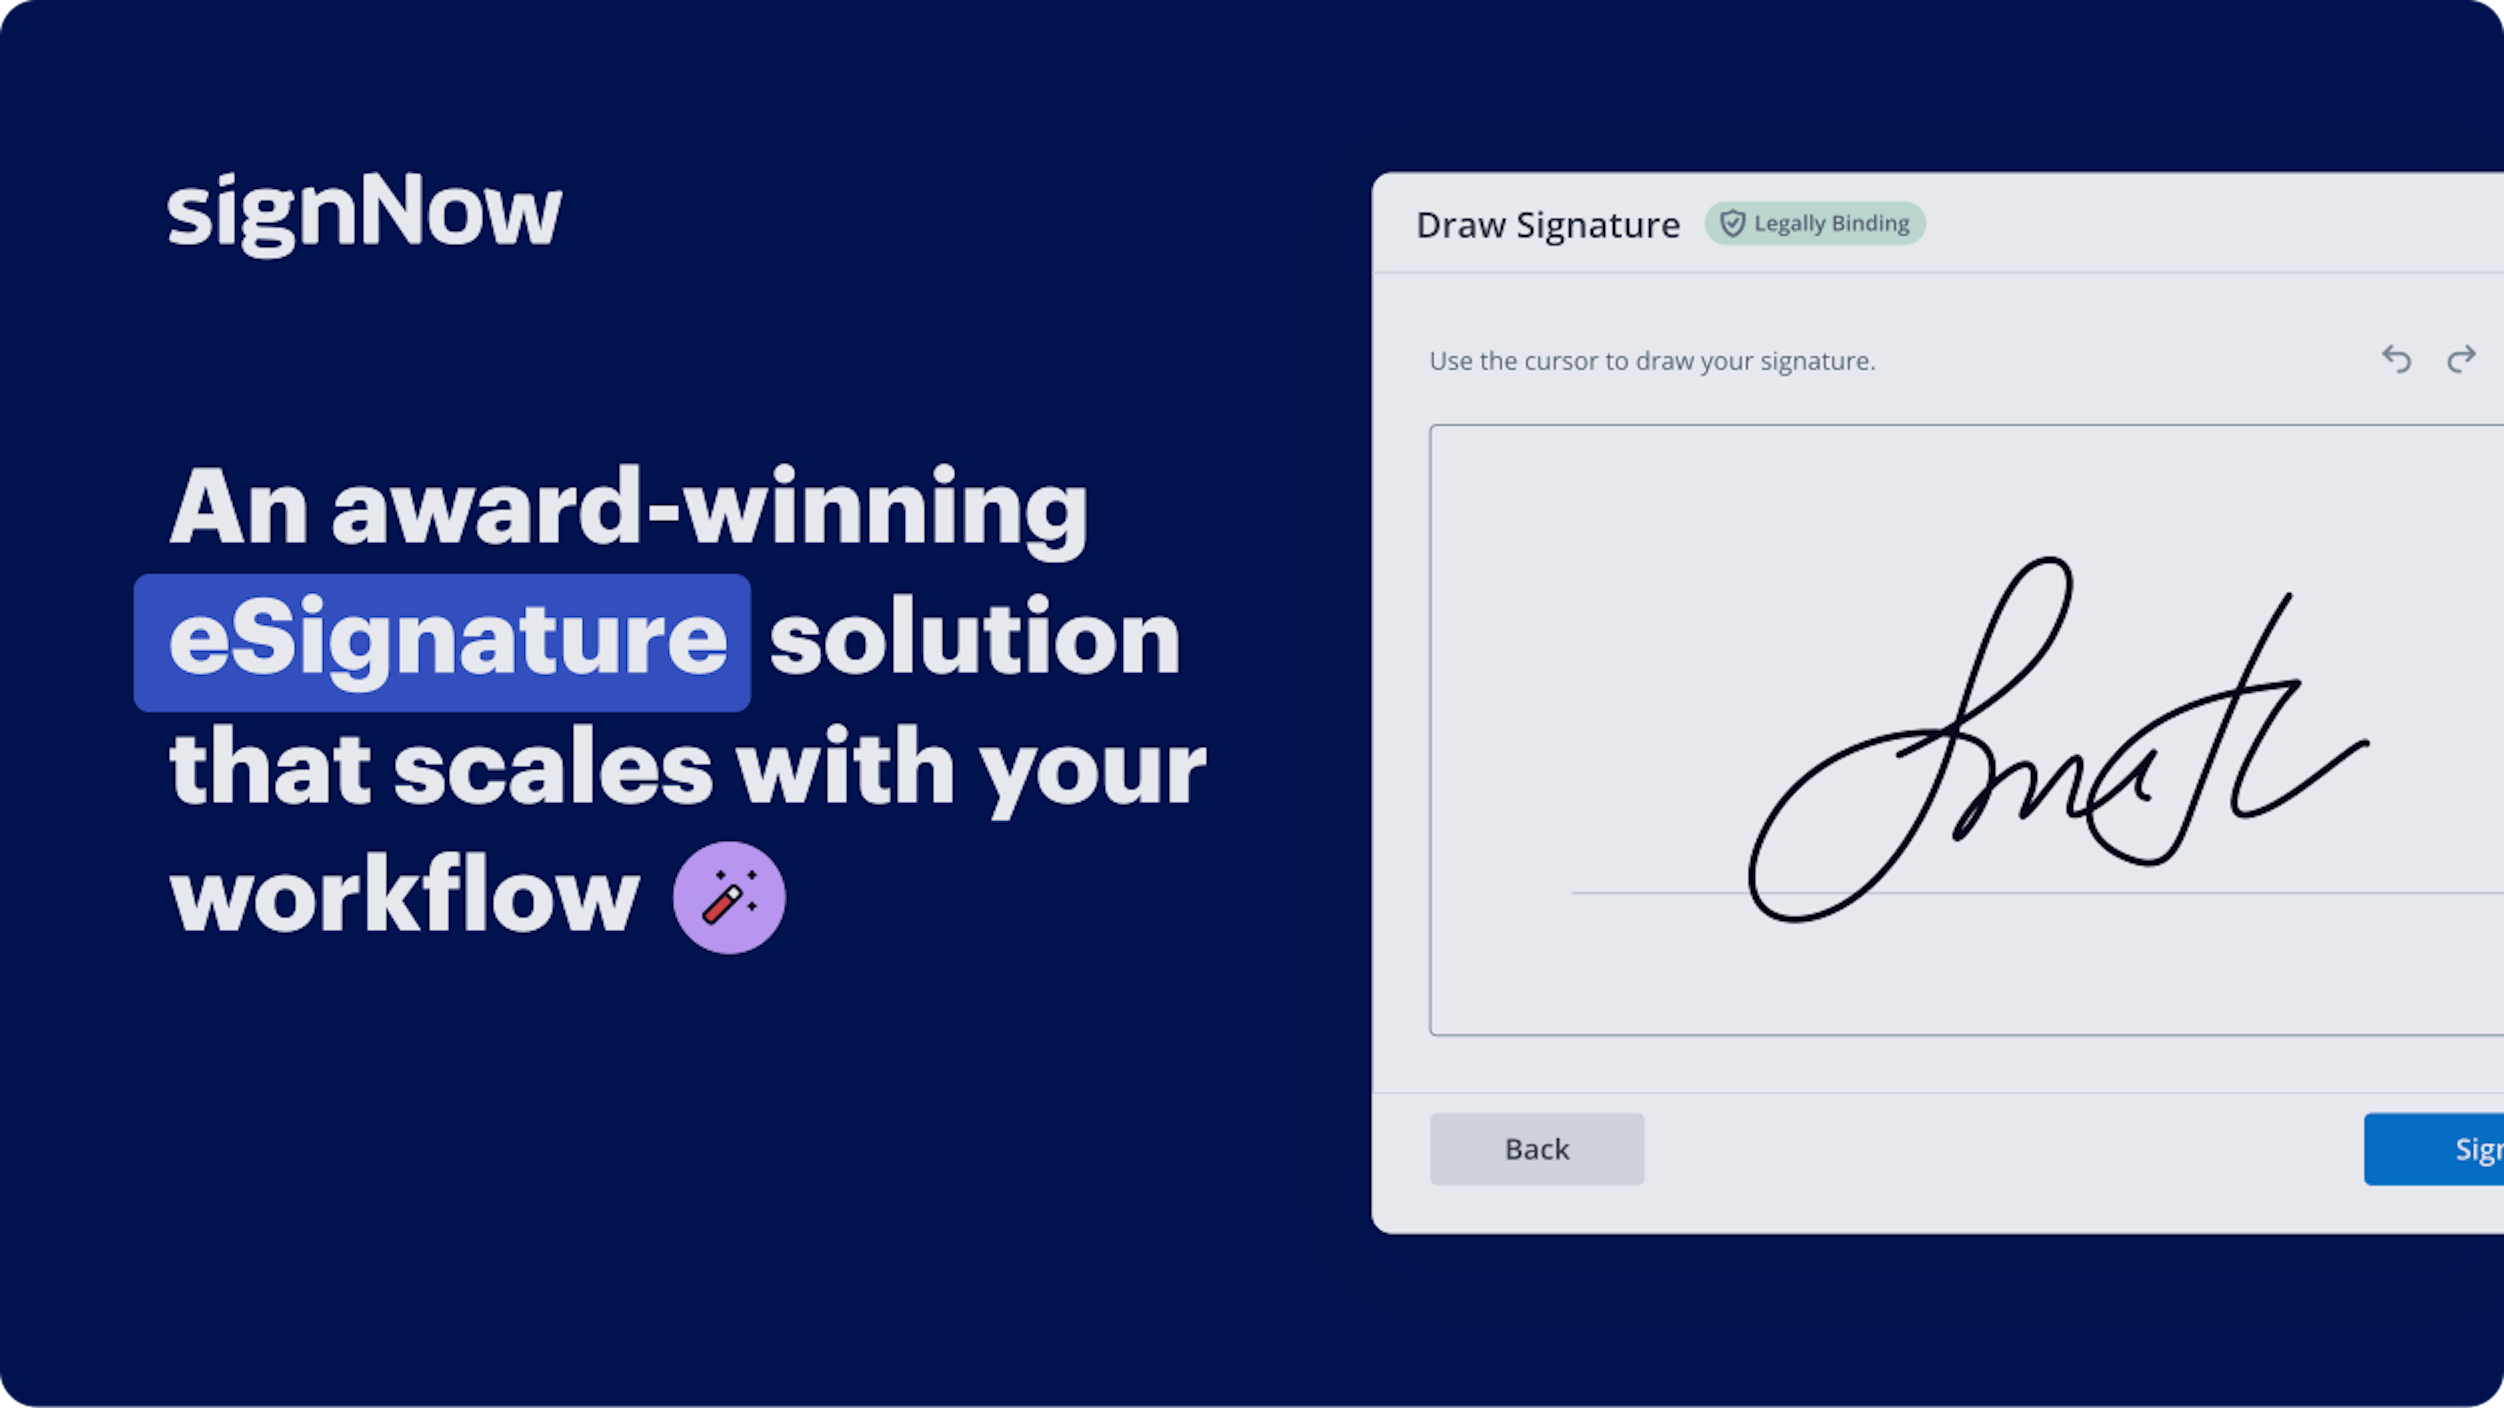
Create secure and intuitive eSignature workflows on any device, track the status of documents right in your account, build online fillable forms – all within a single solution.
airSlate SignNow regularly wins awards for ease of use and setup


How to Reduce Image Size on Macbook Pro
Are you struggling to locate a trustworthy service for all your document management requirements, such as the capability to Reduce Image Size on Macbook Pro? airSlate SignNow is here to simplify your file editing and completion journey to the greatest extent possible, no matter the complexity. Our solution provides a flexible range of business-ready document editing, signing, collaboration, and organization features that you will find user-friendly enough to accommodate both novices and experienced users.
- Visit the airSlate SignNow homepage.
- Create or log into your existing account.
- Utilize one of the methods to upload your file.
- Access your document in our editor.
- Explore the left and top toolbar to discover the option to Reduce Image Size on Macbook Pro.
- Utilize additional features to enhance or manage your documents.
- Save the modifications and download the file.
Regardless of the feature you utilize or the task you execute, airSlate SignNow consistently ensures that your work is secure and effortless. Register for airSlate SignNow today and receive a comprehensive solution that integrates seamlessly into any workflow!
How it works
eSignatures and beyond — simplify document workflows with advanced airSlate SignNow features


-
Best ROI. Our customers achieve an average 7x ROI within the first six months.
-
Scales with your use cases. From SMBs to mid-market, airSlate SignNow delivers results for businesses of all sizes.
-
Intuitive UI and API. Sign and send documents from your apps in minutes.
Our user reviews speak for themselves


FAQs
-
How can I compress a picture on MacBook Pro using airSlate SignNow?
To compress a picture on MacBook Pro using airSlate SignNow, simply upload your image to the platform. The tool provides options to adjust the resolution and quality, effectively reducing the file size without compromising clarity. Once you’ve set your preferences, just download the compressed image for easy sharing. -
Is there a cost associated with compressing pictures on MacBook Pro using airSlate SignNow?
airSlate SignNow offers various pricing plans, which include features for compressing pictures on MacBook Pro. Depending on the plan you choose, you can utilize a range of functionalities including document eSigning and image compression. Check our pricing page to find the best option for your needs. -
What are the benefits of using airSlate SignNow to compress pictures on MacBook Pro?
Using airSlate SignNow to compress pictures on MacBook Pro offers numerous benefits, including maintaining high image quality while significantly reducing file size. This makes it easier to share images via email or online platforms. Additionally, the user-friendly interface ensures a seamless experience for all users. -
Can I integrate airSlate SignNow with other applications to compress pictures on MacBook Pro?
Yes, airSlate SignNow allows integration with various applications, making it easy to compress pictures on MacBook Pro. You can connect with cloud storage solutions like Google Drive or Dropbox to upload images directly. This integration streamlines your workflow and enhances productivity.
-
What types of images can I compress on MacBook Pro with airSlate SignNow?
You can compress various image formats on MacBook Pro with airSlate SignNow, including JPEG, PNG, and GIF. This flexibility ensures that you can work with the most common image types and optimize them for your specific needs. Simply upload your desired format, and the tool will handle the rest. -
Is there a limit to the size of the pictures I can compress on MacBook Pro?
There may be limitations on file size depending on the airSlate SignNow plan you choose. However, most plans allow for the compression of large images on MacBook Pro. For specific details on size limits, please refer to our support documentation or contact customer service. -
How does airSlate SignNow ensure the quality of compressed images on MacBook Pro?
airSlate SignNow employs advanced algorithms to compress pictures on MacBook Pro while preserving essential details. Users can adjust quality settings to find the optimal balance between file size and image clarity. This ensures that your compressed images remain visually appealing and functional. -
What support options are available if I have trouble compressing pictures on MacBook Pro?
If you encounter any issues while compressing pictures on MacBook Pro with airSlate SignNow, a variety of support options are available. You can access our comprehensive help center, or reach out to our customer support team via email or chat. We're dedicated to helping you resolve any concerns promptly.