Establishing secure connection…Loading editor…Preparing document…

Contract Installation Form

This template is fully customizable. Edit the text, fill out the fields, and send it for signature. Give it a try!
Contract Installation Form

What the Contract Installation Form Is and when it applies

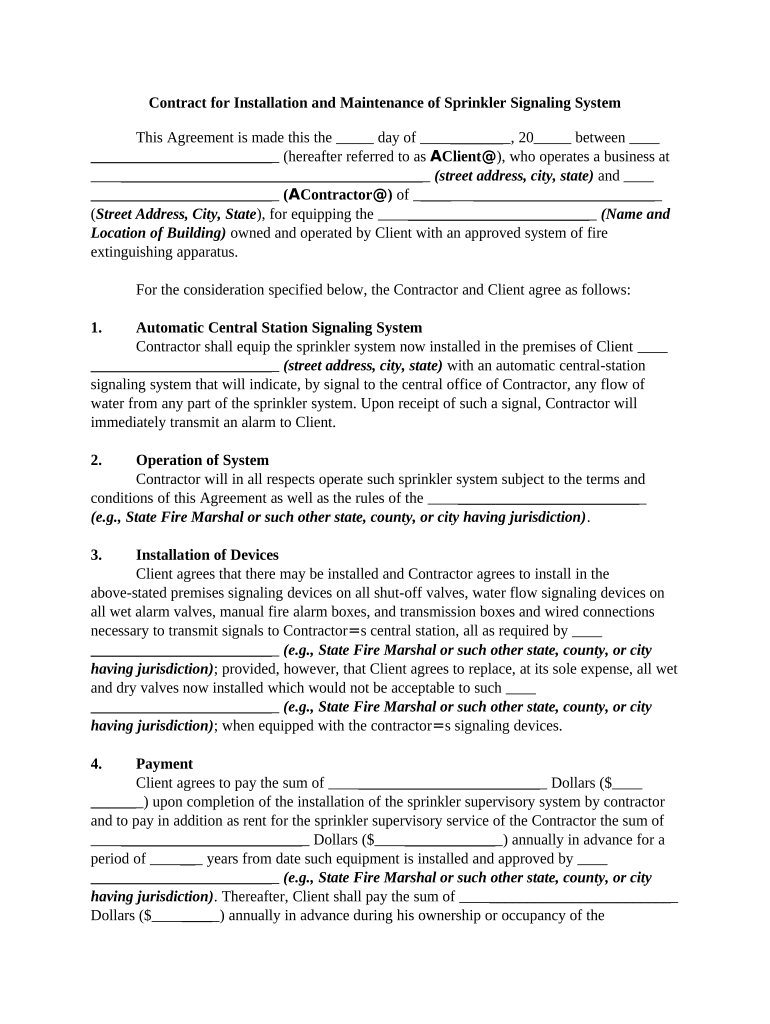
A Contract Installation Form documents the agreed scope, schedule, and terms for installation services provided by a contractor or vendor at a customer site. It typically records parties, installation address, equipment or materials to be installed, start and completion dates, acceptance criteria, payment terms, and any warranties. The form establishes responsibilities, permits inspection and sign-off, and is used to trigger invoicing, lien waiver obligations, and retention of project records. Although formats vary, the form functions as an operational contract tied to a specific installation project.

Why a clear Contract Installation Form matters

A well-prepared Contract Installation Form reduces disputes by specifying scope, performance milestones, responsibilities, and payment triggers. For U.S. transactions, an electronically signed form can be enforceable under ESIGN (15 U.S.C. ch. 96) and state UETA statutes when intent, consent, attribution, and retention are present, with exceptions for narrow categories of documents.

Why a clear Contract Installation Form matters

Who typically completes and signs this form

The Contract Installation Form is completed by parties directly involved with an installation project and by administrators who manage contracting and compliance.

  • Project managers and site supervisors who confirm scope, schedule, and acceptance criteria.
  • Contracting or procurement teams that prepare payment terms and vendor details for invoicing.
  • Customers or facilities managers who review and sign off on completion and acceptance.

Use the appropriate signer role for each signature block and retain a copy according to corporate and regulatory retention policies.

Representative signers and their responsibilities

Contractor — Project Lead

The contractor or vendor project lead certifies work performed, confirms materials used and schedule adherence, and signs acceptance of the stated obligations. Their signature binds the contractor to warranty, indemnity, and completion covenants described in the form and usually triggers invoice submission.

Customer — Facilities Manager

The customer or facilities manager verifies that installed equipment matches specifications and that acceptance tests pass. Signing indicates customer approval for payment release, and may affect lien waiver and warranty start dates.

Core sections to include in a professional Contract Installation Form

Include concise, standardized sections so the form is easy to review and enforce across projects and systems.

Parties

Full legal names and contact details for contractor and customer, including mailing address, billing contact, and primary site contact for scheduling and escalation.
Scope

Detailed description of installation tasks, equipment model numbers, quantities, and any excluded work so expectations are explicit and measurable.

Schedule

Start and completion dates, milestones, site access windows, and provisions for delays or change orders that modify the timeline.

Acceptance

Acceptance criteria, testing procedures, sign-off steps, and remedies for failed acceptance including rework timelines and retesting protocols.

Payment

Payment amounts, invoicing schedule, retainage (if any), conditions for release of funds, and backup withholding consequences for incorrect TINs.

Legal Terms

Applicable governing law, limitation of liability, warranty terms, insurance requirements, and dispute resolution mechanisms tailored to the parties.

Required factual fields to capture on the form

Names: Full legal names
Addresses: Street, city, state, ZIP
Dates: MM/DD/YYYY format
Scope ID: Line-item identifiers
Signatures: Signer name and date
Payment Info: Totals and invoice terms

Step-by-step: completing and executing the form

Follow these sequential steps to prepare, review, and finalize a Contract Installation Form for a single installation engagement.

  • 01
    Prepare form: Populate parties, scope, schedule, and payment fields.
  • 02
    Internal review: Legal and procurement review for terms and insurance.
  • 03
    Customer review: Share form for customer questions and edits.
  • 04
    Signing: Execute signatures and retain the executed copy.

Typical routing flow for digital execution

A digital workflow reduces transit time and preserves an audit trail; map routing before sending to avoid signer order errors.

  • Upload document: Upload the completed draft to your eSignature platform.
  • Place fields: Add signature, date, and input fields as required.
  • Add signers: Specify signer order and authentication level.
  • Send and track: Send for signature and monitor completion status.

Configuring a repeatable digital installation workflow

Set up a template and routing rules so standard installations follow the same approval and signing path every time.

Field Configuration
Template name Standard Installation Agreement
Signing order Contractor then customer then procurement
Authentication Email + optional SMS code
Retention Store signed PDF and audit log

Choosing technical options for eSigning and storage

Decide which authentication level, storage location, and integrations you need before sending the first batch of forms.

  • Authentication: Email link or SMS code suffice for most commercial orders; use stronger methods for regulated data.
  • File formats: Use PDF or DOCX for compatibility across signing platforms.
  • Integrations: Connect to ERP or CRM for automated invoice and record updates.

Select storage and access controls that meet your corporate retention policy and any applicable industry regulations.

Key timing and deadline considerations

Track dates that affect obligations, payment triggers, and regulatory filings to avoid penalties and schedule disputes.

Start date:

When the contractor begins installation work.

Completion date:

When the installation must be finished per the form.

Acceptance period:

Window for customer testing and sign-off.

Invoice due date:

Payment terms measured from invoice receipt or completion.

Warranty commencement:

Effective on acceptance or specified date.

Milestone timeline from issuance to retention

Use a numbered milestone view to monitor approval, installation, and closeout stages for each contract.

01

Issue and approval

Form prepared, reviewed internally, and approved for sending.

02

On-site installation

Work performed according to agreed schedule and access windows.

03

Acceptance testing

Customer performs tests; failures trigger rework.

04

Closeout and retention

Signed form stored and retention schedules applied.

Common preparation mistakes to avoid

  • Vague scope descriptions that leave room for differing interpretations and later disputes over additional work.
  • Missing or inconsistent signer names and titles which can delay payment or raise enforceability questions in audits.
  • Incorrect dates or decimal formatting on payment lines leading to invoice mismatches and reconciliation delays.
  • Failing to attach required exhibits — such as technical specs, permits, or insurance certificates — that are referenced in the form.

Potential legal and financial risks of an incorrect form

Payment delays: Withheld payments
Contract disputes: Litigation risk
Lien exposure: Mechanic's lien risk
Tax issues: Backup withholding
Regulatory fines: Noncompliance penalties
Invalid signature: Enforceability questions

Practical tips for accurate and efficient completion

Adopt a consistent process and template library to reduce errors and accelerate approvals.

Use standard templates
Maintain an approved template that includes required clauses, exhibits, and field validation rules so teams do not recreate terms and risk inconsistency or missing legal protections.
Validate payer details
Confirm billing entities and tax identification numbers before finalizing payment terms to avoid backup withholding or tax reporting errors that can delay payment and increase administrative burden.
Attach exhibits
Include technical specifications, site access plans, and insurance certificates as annexes to ensure referenced obligations are immediately available during acceptance and dispute resolution.
Retain audit trails
Store signed PDFs with audit logs showing signer IP, timestamps, and authentication method to support enforceability under ESIGN and relevant state UETA laws.

Example scenarios illustrating typical use

Real-world examples show how the form is adapted across common installation projects.

Optica Ventures — Equipment install

A small IT services firm prepared a template for routine server rack installs that standardized scope items and acceptance tests.

  • The template reduced negotiation time per job by eliminating custom scope drafting.
  • By using a standardized form and digital signatures, the company shortened project cycles, improved billing speed, and ensured consistent warranty start dates for every customer without repeated legal reviews.

Martin Properties — Field service

A property services company used the form for HVAC unit replacements across multiple properties with identical terms.

  • Centralized templates let field teams complete forms on mobile devices.
  • The result was faster approvals onsite, reliable retention of signed forms in a central repository, and fewer payment disputes because acceptance criteria and liability allocations were clear to both technicians and property managers.

Frequently asked questions about completing and signing the form

Common questions about validity, corrections, and electronic signatures are answered below to help avoid execution problems.


Need help? Contact support

be ready to get more
Join over 28 million airSlate SignNow users