Can I send a document to multiple people?
In airSlate SignNow, you can send a document to multiple people in two different ways:
- Create a document with several roles.
- Create a document and send its copies to multiple people so that each of them receives a separate copy.
Creating a document with several roles
If you need to sign a contract that involves several parties, creating a document with roles will help you. Follow these guidelines to easily add roles to your document and set the signing order.
- Upload a document to your airSlate SignNow account by using the blue Upload Documents button at the top.
- Make it a template if you want to reuse it.
- Once uploaded, open the document in the editor and add fillable fields from the left-hand panel.
- Every field has a Role section in its menu which appears on the right as you click on the field. In this section, click Add Role, and enter the role’s name in the pop-up. Add as many roles as you need so their respective fields will be marked with a different color. When the recipients open the document, they will only see fields assigned to them.
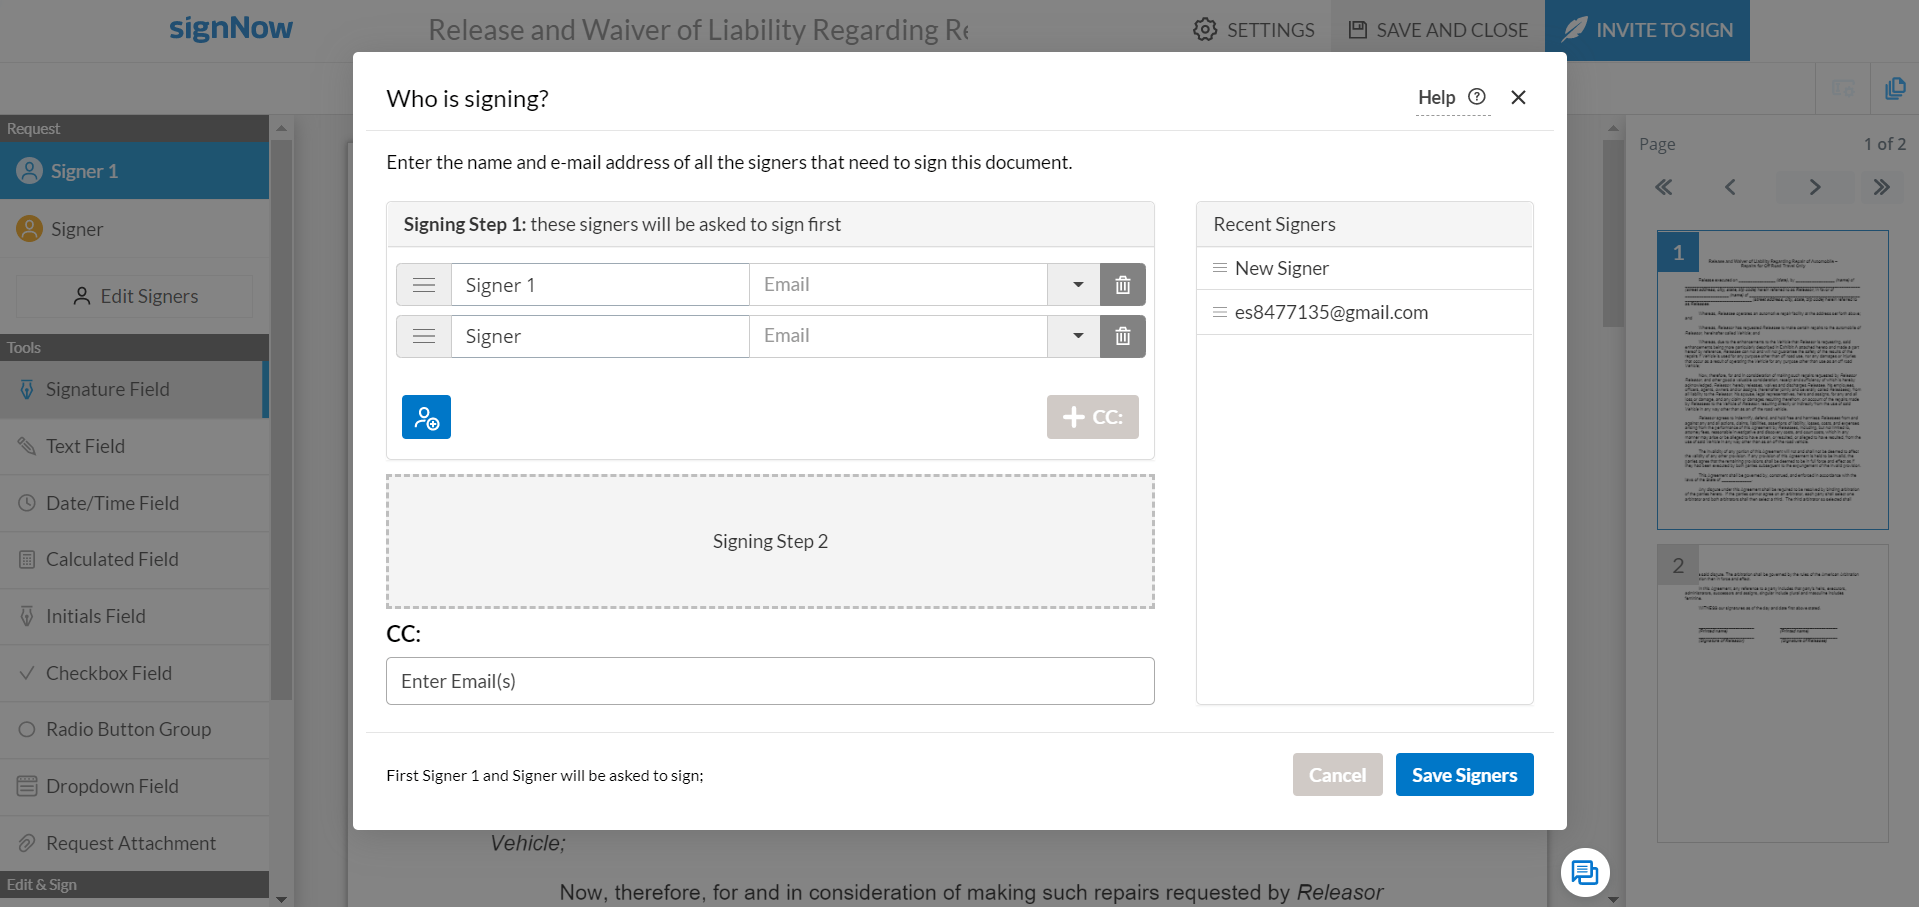
- Alternatively, you can add roles by clicking Edit Signers. Click on the icon with a person to add roles and name them. Indicate their emails if you’re only sending the document once or if you’re going to send a template to the same recipients every time. If your recipients change from time to time, you can leave the role names.
- Create several signing steps by clicking on the respective areas and adding signers to Step 2, Step 3, etc. The signers from Step 2 won’t receive the document until the signers from Step 1 have completed their fields.
- You can set the signing order in the same way when customizing the invite. Click Invite to Sign and then click Edit Signing Order.
Sending bulk invite
If you have a bunch of similar forms that need to be completed, in airSlate SignNow you can send a single document out to multiple recipients and then collect separate copies. Follow the guidelines below to use this feature.
- Make sure that your document has at least one role. To create the role, you need to add at least one field.
- Turn your document into a template by clicking More >> Make Template.
- Once you’ve finished editing, close the document. Then, click More and select Bulk Invite from the menu.
- In the invite window, enter your recipients’ emails. You can do this either manually or by uploading a CSV file with the list of emails. Once ready, click Send Bulk Invites.
Tracking the status of sent documents
You can track the status of sent documents directly in your account. When you send a document out, the Waiting for others label will appear on it. If you have several signers and one of them has already signed your document, the label will remain until all signers complete the document. Once completed, the label will change to Signed in green. The same occurs with templates, but the template itself remains untouched. Instead, airSlate SignNow generates a copy to send for signing and that will appear in the Documents folder. When sending a bulk invite, all generated copies will be stored in the Archive folder with their status labels. In addition to the status shown in your account, you will receive emails notifying you when each copy has been completed.
