Calculated fields
Perform automatic numeric calculations within the template, such as totals, taxes, or amortization results, ensuring consistent computed values across documents.


Templates with smart fields standardize data capture, reduce manual work, and improve accuracy while preserving full auditability for signed documents.

Legal teams create and review templates with smart fields to ensure required clauses, signatures, and initials appear in the right order, preserving legal intent and compliance across repeated agreements.
HR staff build onboarding templates that auto-populate employee details from HRIS, apply conditional enrollment fields, and enforce required acknowledgements, improving speed and reducing data-entry errors.
Organizations across finance, HR, real estate, and education commonly use smart fields to streamline repeatable paperwork and reduce manual errors.
Using templates with smart fields helps teams scale document processes while retaining control over data quality and audit records.
Perform automatic numeric calculations within the template, such as totals, taxes, or amortization results, ensuring consistent computed values across documents.
Route the document to alternate signers or reviewers based on completed field values, adapting the workflow to business logic without manual intervention.
Use APIs to programmatically inject data into templates before sending, enabling integration with back-office systems and eliminating manual entry.
Send a single template to many recipients with individualized auto-fill values for each recipient to support mass outreach like offers or certificates.
Maintain controlled template revisions with rollback and change tracking so updates do not disrupt active workflows or compliance obligations.
Switch field labels, help text, and conditional logic per locale to support multi-jurisdictional deployments with consistent behavior.
Map template fields to external data sources such as CRMs or databases so values populate automatically and consistently each time the template is used.
Configure visibility and required status for fields based on other answers, preserving form simplicity and enforcing only relevant inputs for each signer scenario.
Enforce data formats, length limits, and mandatory entry to reduce incomplete or malformed submissions and limit downstream processing errors.
Bind specific fields to named recipients or roles so each signer only sees and completes the fields intended for them, improving clarity and security.

| Workflow Setting or Feature Name | Default configuration or typical value |
|---|---|
| Template Auto-fill Mapping | Enabled; maps fields by name and source |
| Conditional Field Rules | Configured per template; simple expression engine |
| Recipient Routing Order | Sequential or parallel routing as required |
| Reminder Frequency | 48 hours; configurable up to daily |
| Document Retention Period | Set per policy; default 7 years |
Smart field templates are designed to work across web browsers, desktop apps, and mobile devices, with some platform-specific considerations.
For best results, keep browsers and apps up to date, test on representative devices, and use native apps for advanced field interactions or offline signing scenarios.
A lender creates a reusable closing template with mapped address and loan fields
Resulting in reduced review time and consistent, auditable closing documents for compliance teams.
An admissions office builds a template that pre-populates student name and ID from records
Leading to faster enrollment processing and clearer consent records for institutional audits.
| Feature or Capability for Comparison | signNow (Recommended) | DocuSign | Adobe Acrobat Sign |
|---|---|---|---|
| Smart field auto-detection | |||
| Conditional field logic | |||
| Bulk send with individualized fields | |||
| Field-level encryption available |
Set per regulation; commonly three to seven years
Retain audit logs for the same period as documents
Keep historical versions for compliance and rollback
Archive completed documents to cloud storage on completion
Define secure deletion policies and procedures
| Plan Comparison Across Vendors | signNow (Recommended) | DocuSign | Adobe Acrobat Sign | PandaDoc | HelloSign |
|---|---|---|---|---|---|
| Starting price | Subscription plans start at $8 per user per month | Plans start at $10 per user per month | Plans start at $14.99 per user per month | Plans start at $19 per user per month | Plans start at $15 per user per month |
| Included templates and fields | Unlimited templates with smart fields available | Templates included; some advanced fields extra | Templates with standard fields included | Templates included; advanced automation extra | Basic templates included |
| Bulk send capability | Included in most business plans | Available on business plans | Available on enterprise plans | Included on higher tiers | Included with limits |
| Advanced authentication options | Email, SMS, access code, and SSO support | Broad authentication options including ID verification | Multiple authentication types with enterprise options | Email and SSO options | Email and OAuth support |
| Enterprise support and SLAs | Available with enterprise agreements and dedicated support | Enterprise support with SLAs and integrations | Enterprise-level contracts available | Enterprise plans include support | Higher-tier plans include priority support |
Save time and minimize data entry errors when sending bulk signature invites by automatically importing data from a CSV file into a template’s fillable fields. You can also pre-populate fields by adding specific parameters to an invite link.
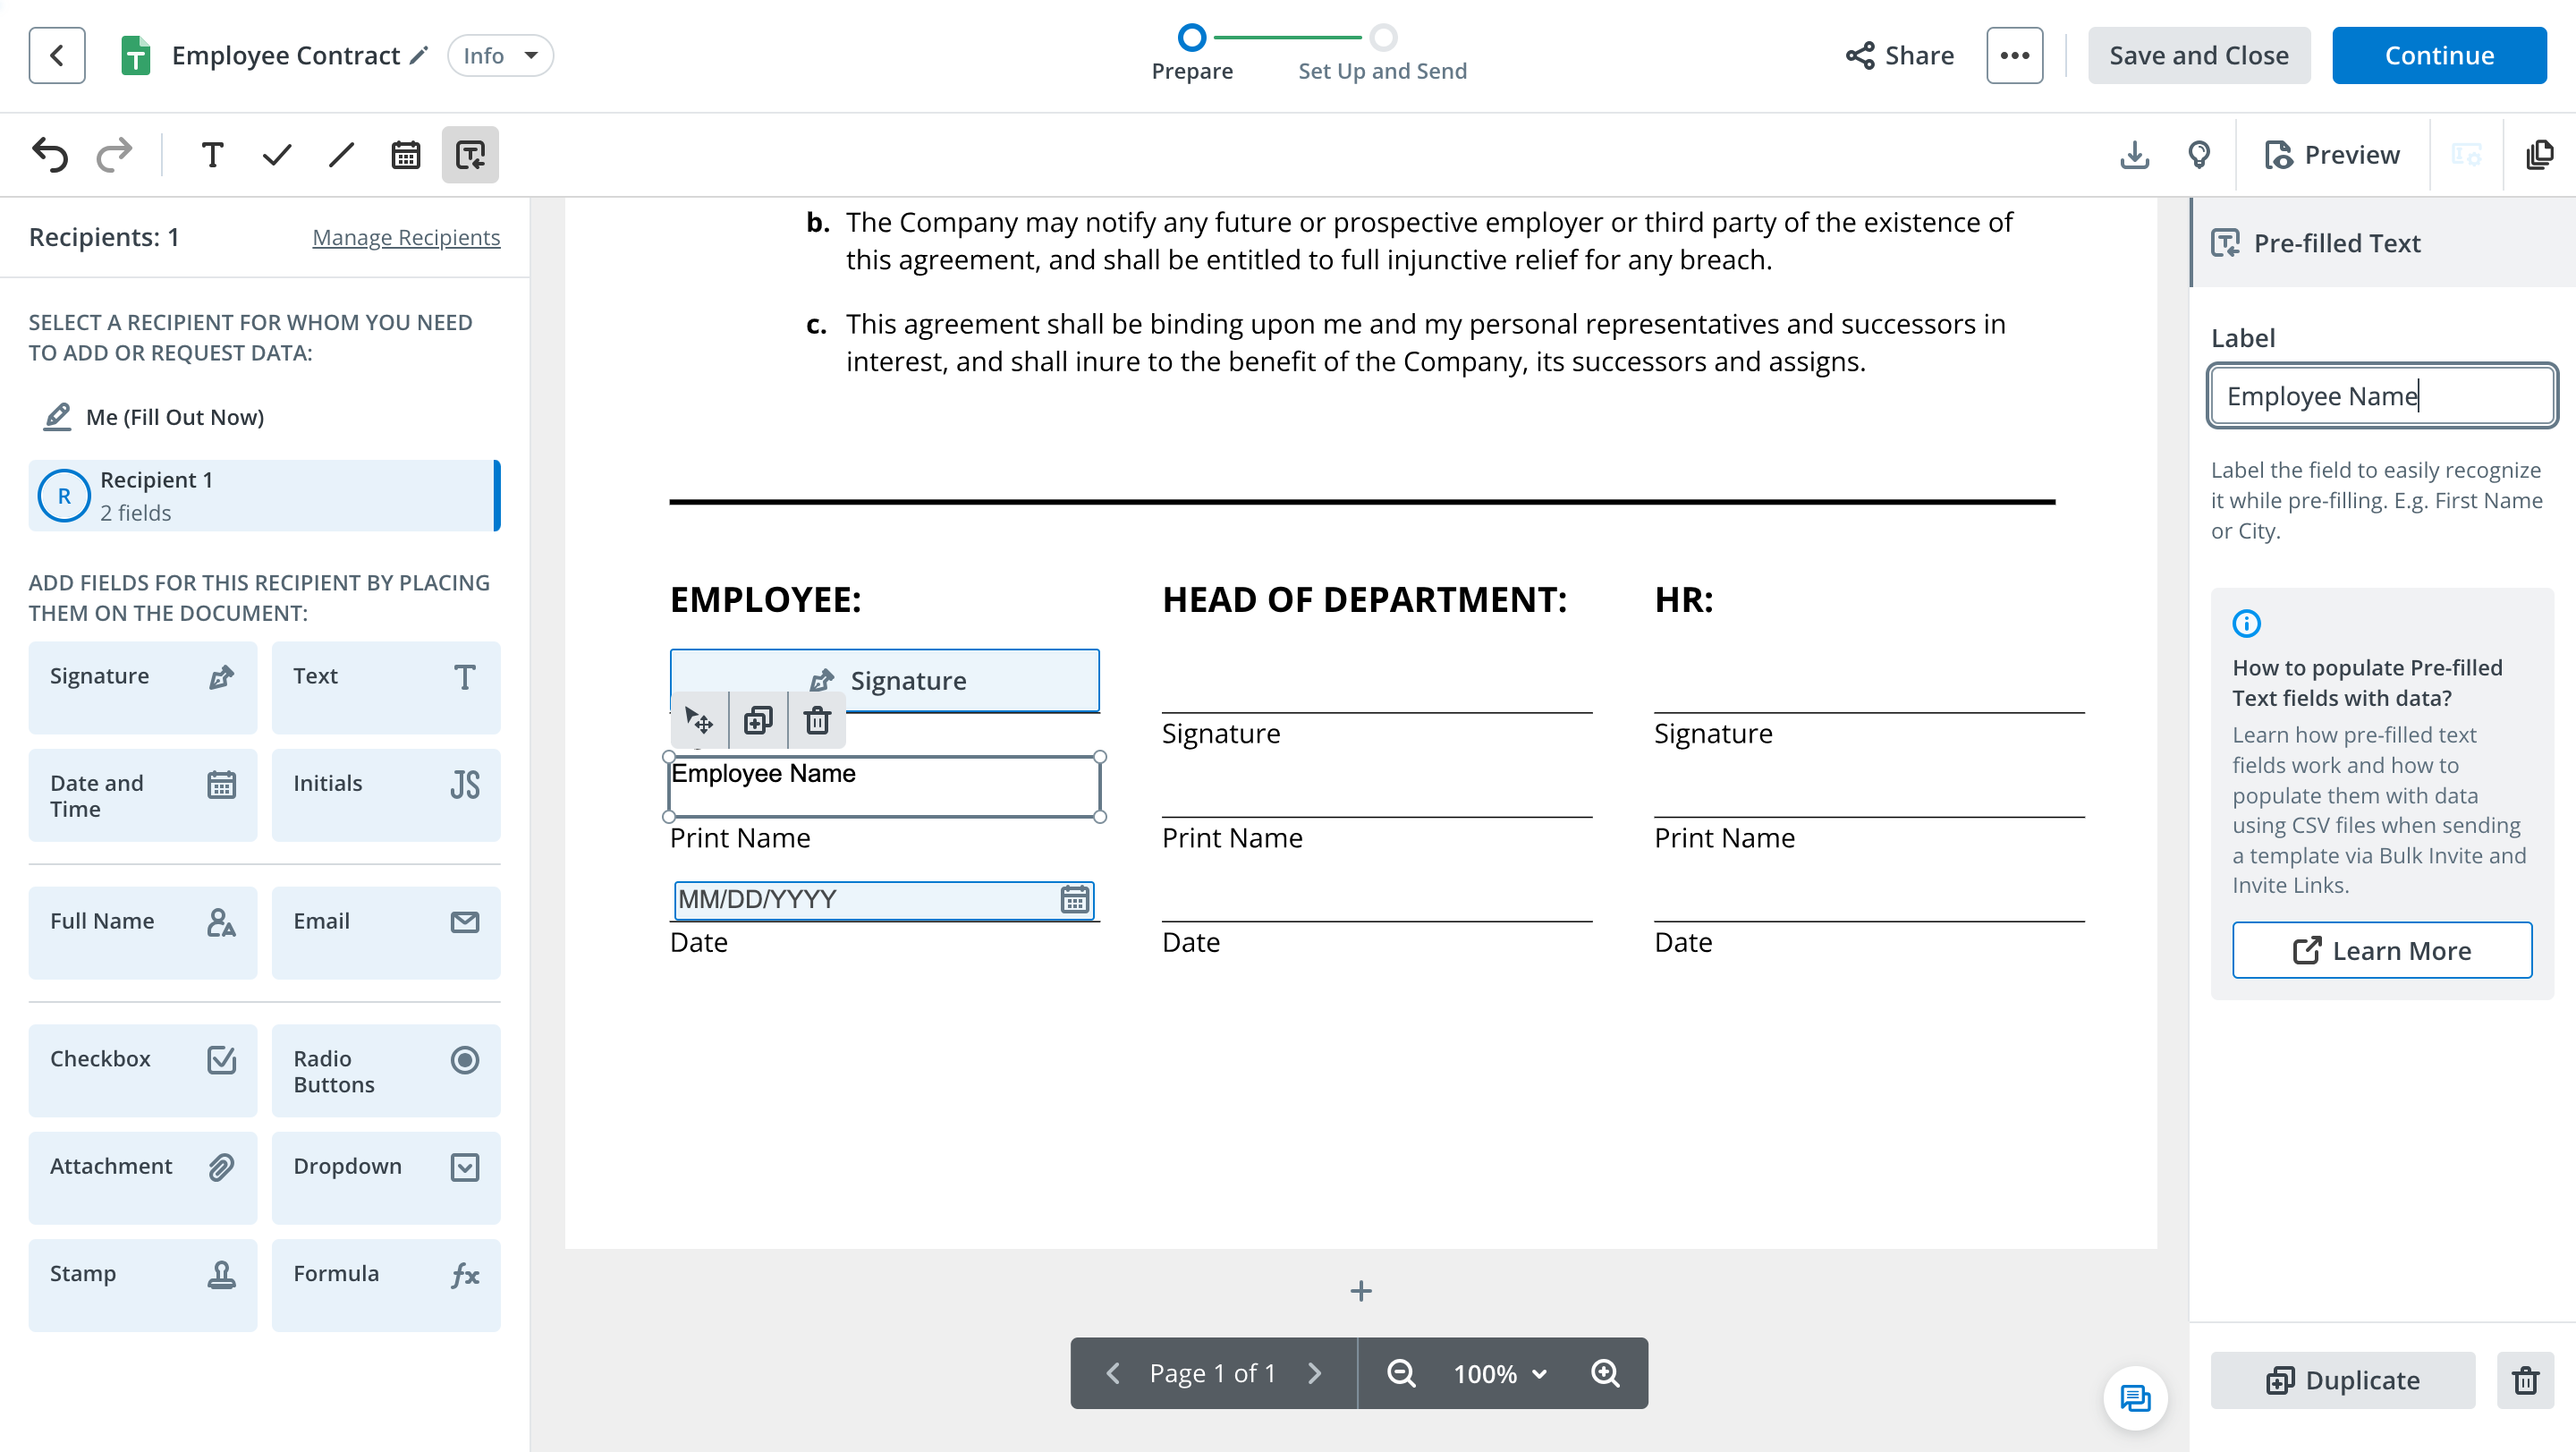
Create a template and open it in the editor. In the upper toolbar, select Pre-Filled Text Fields and place them anywhere in the document.

Prepare a CSV file from which to export data. Ensure it contains a column with your signers’ email addresses and another column with the information you want to export (e.g., “Employee Name”).

Enter a field label in the right-hand sidebar, which appears once you select any Pre-Filled Text Field. Ensure that your label matches the corresponding column name in your CSV file. Then, save and close your template.
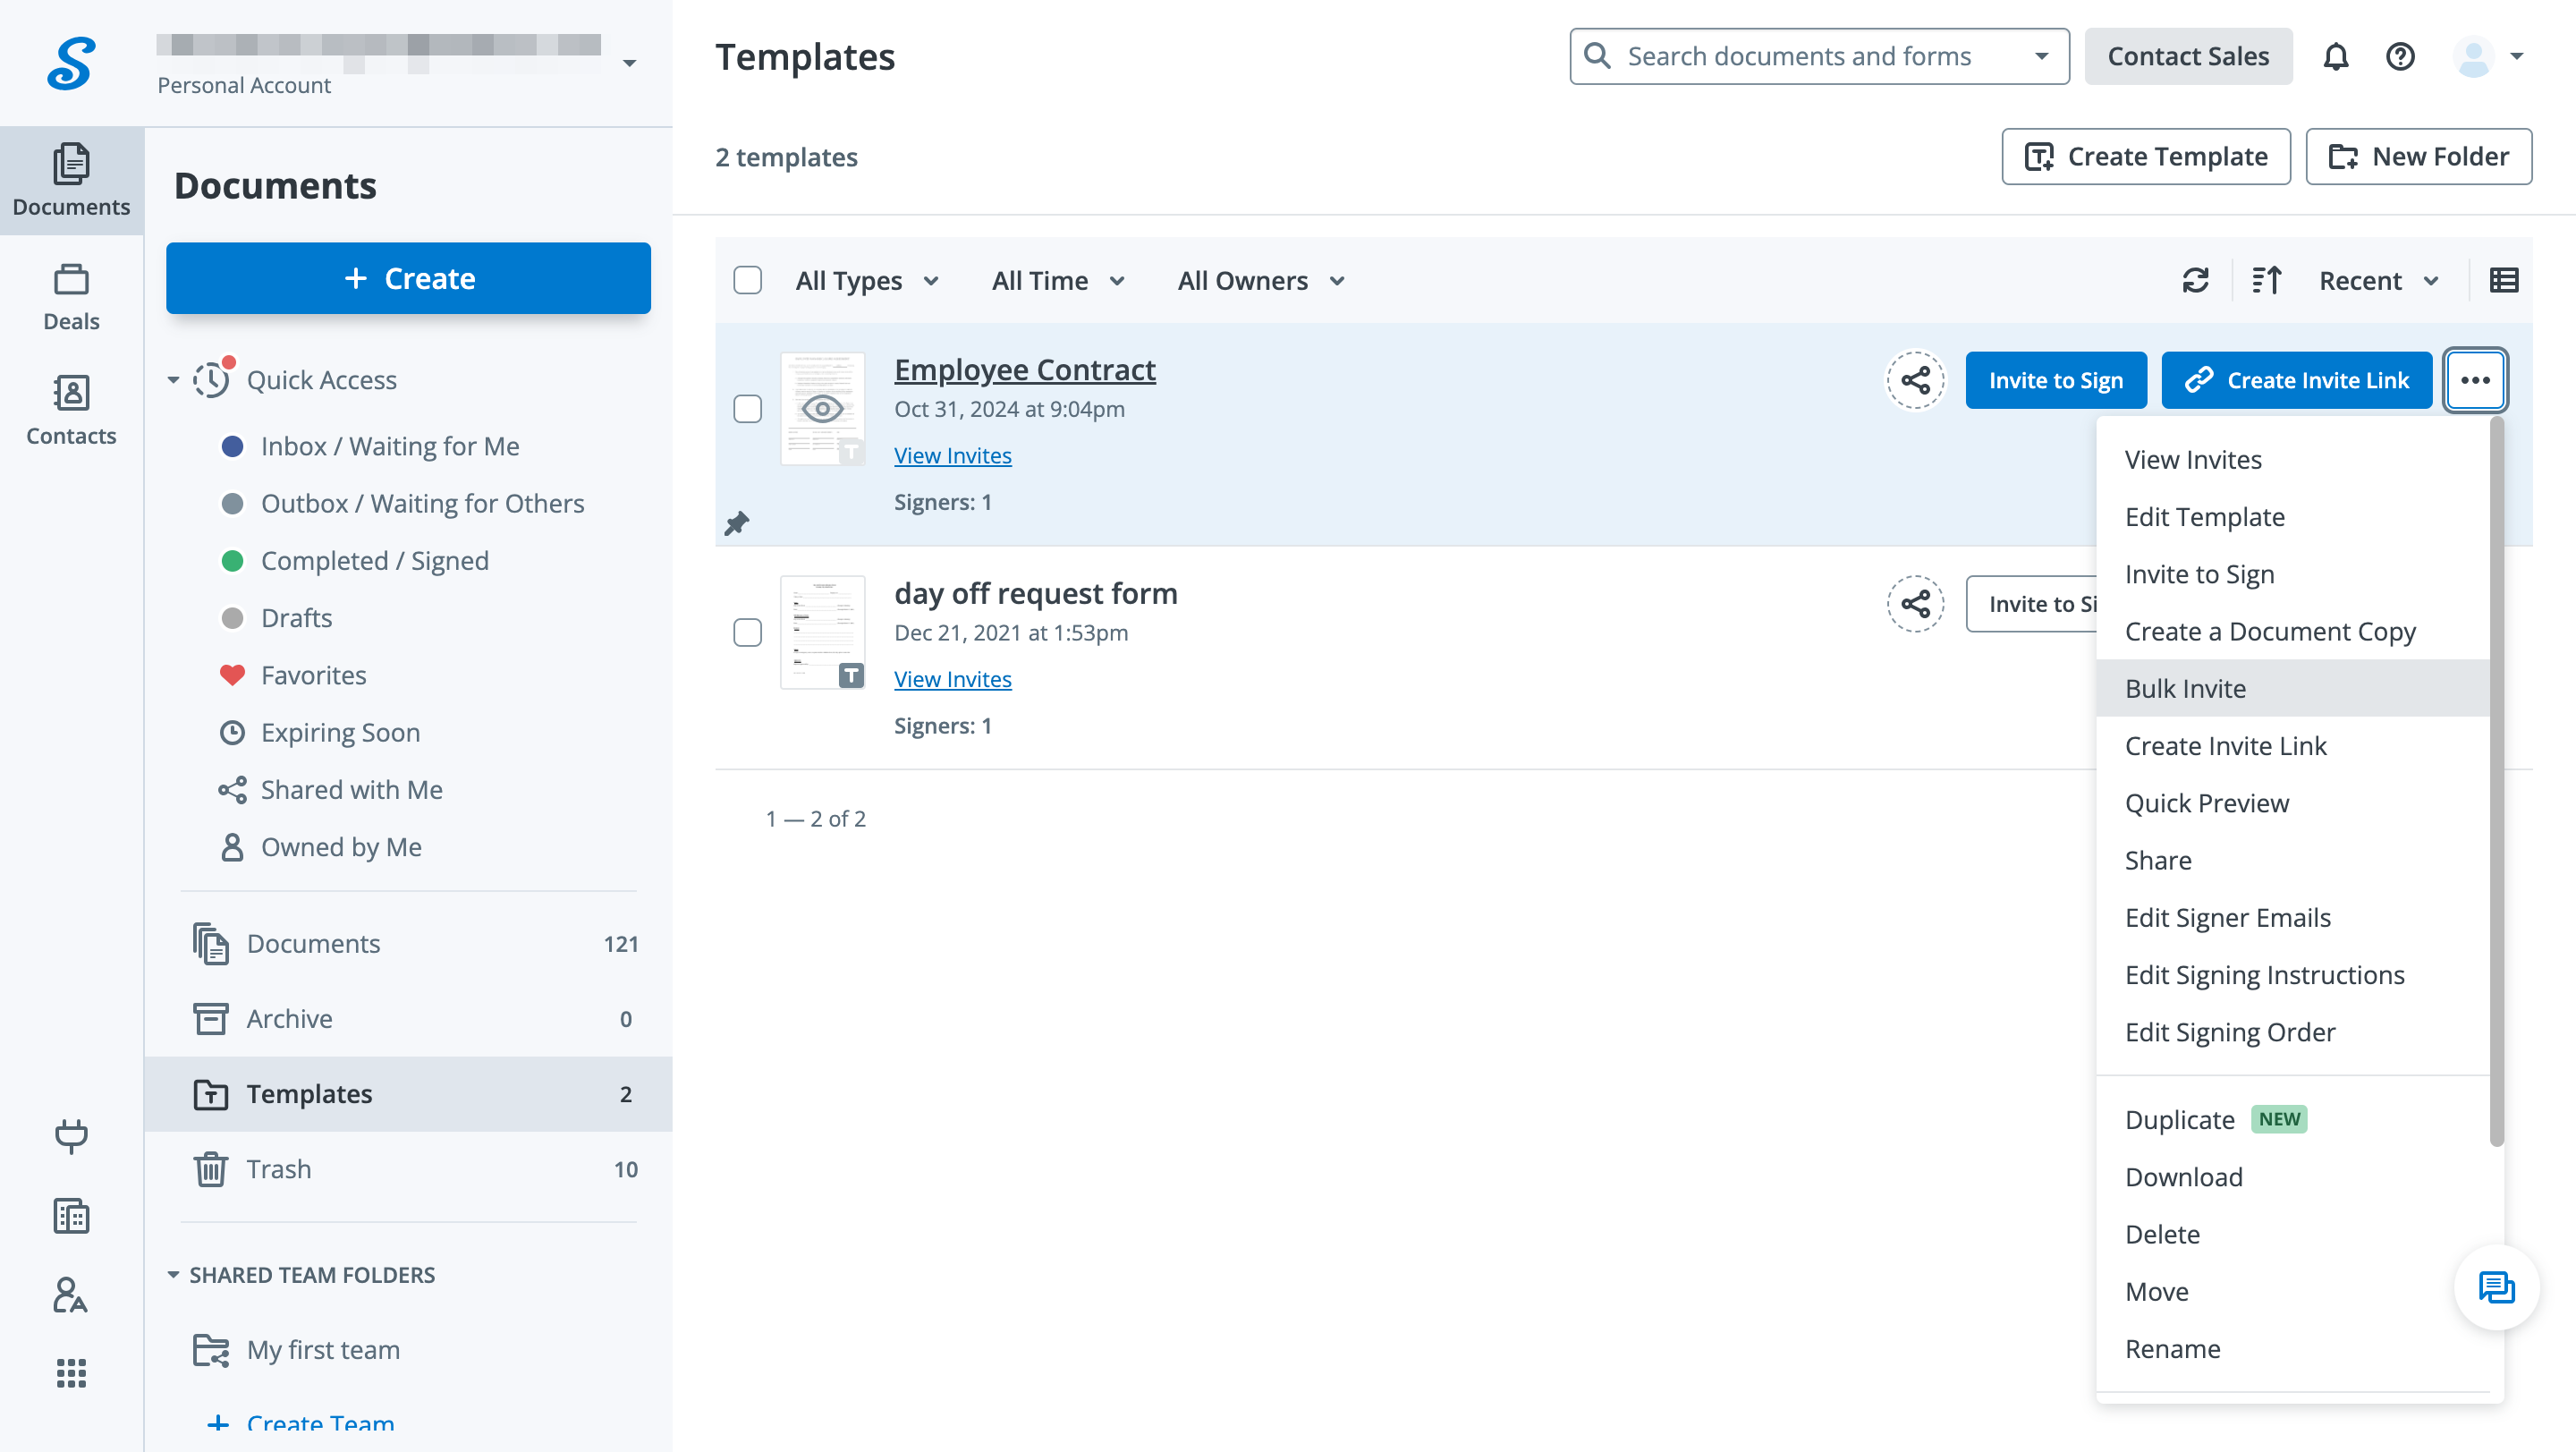
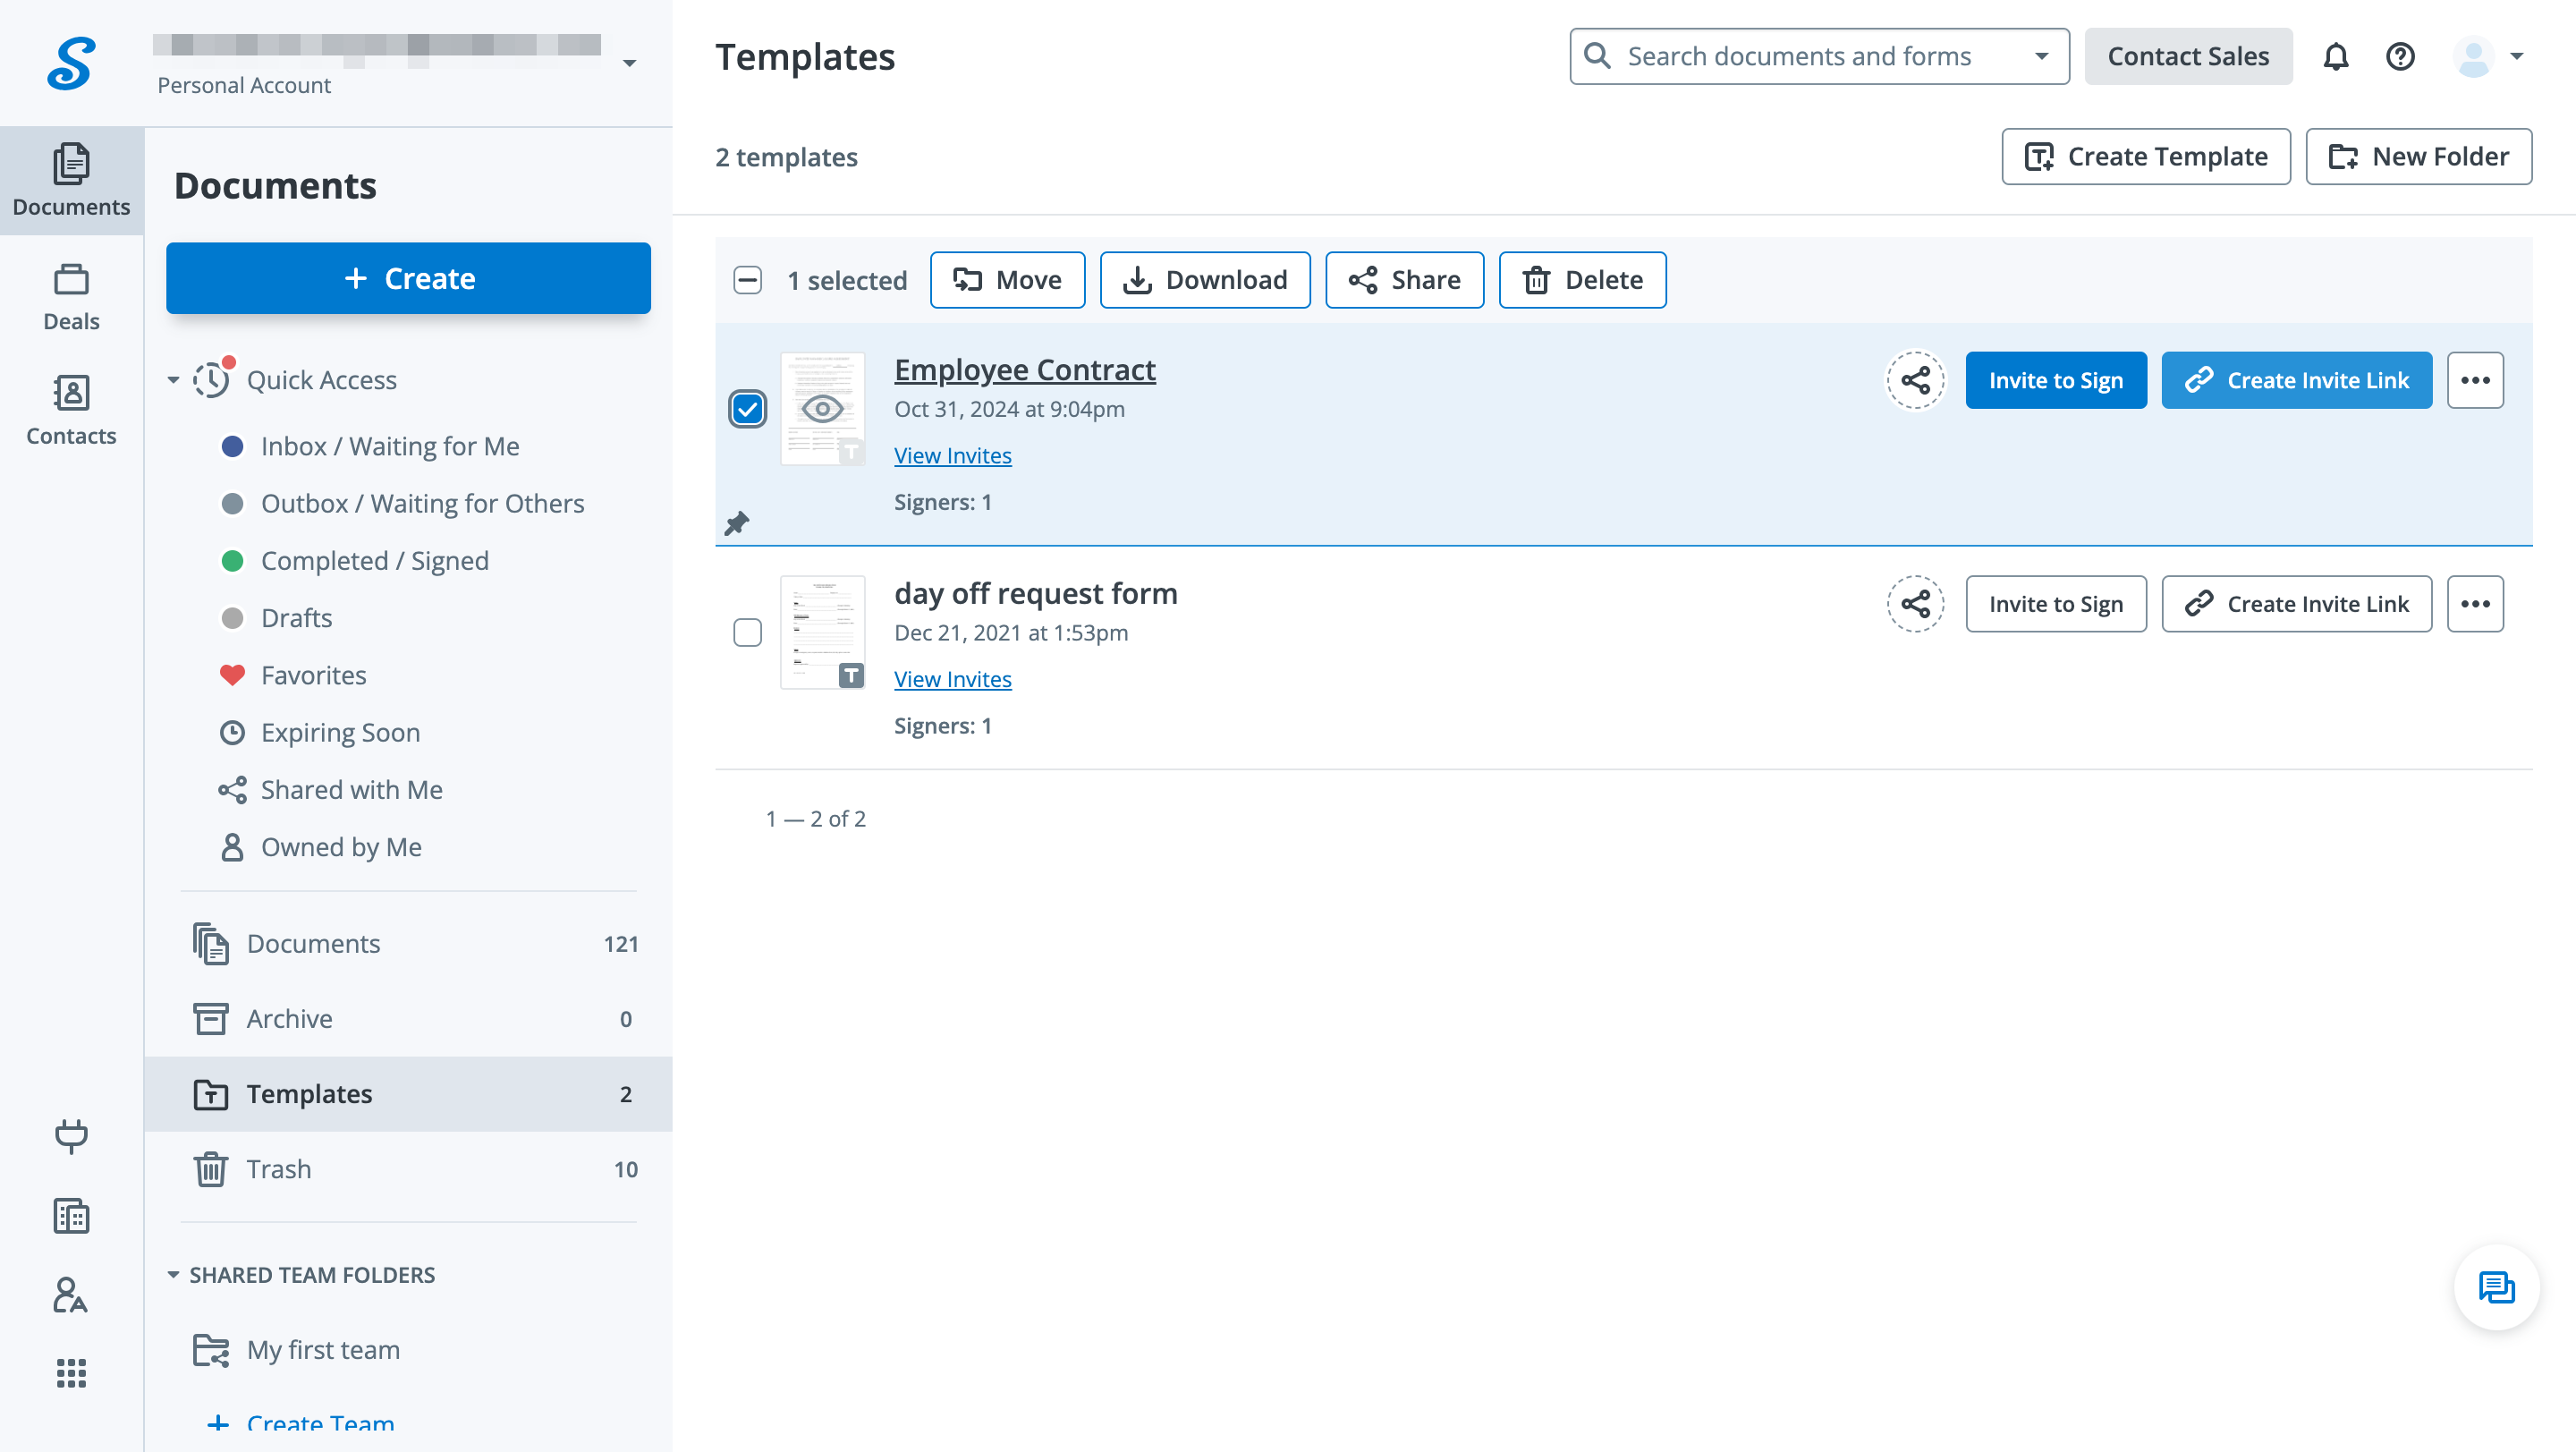
Return to the Templates folder, click More next to your template, and select Bulk Invite from the dropdown.
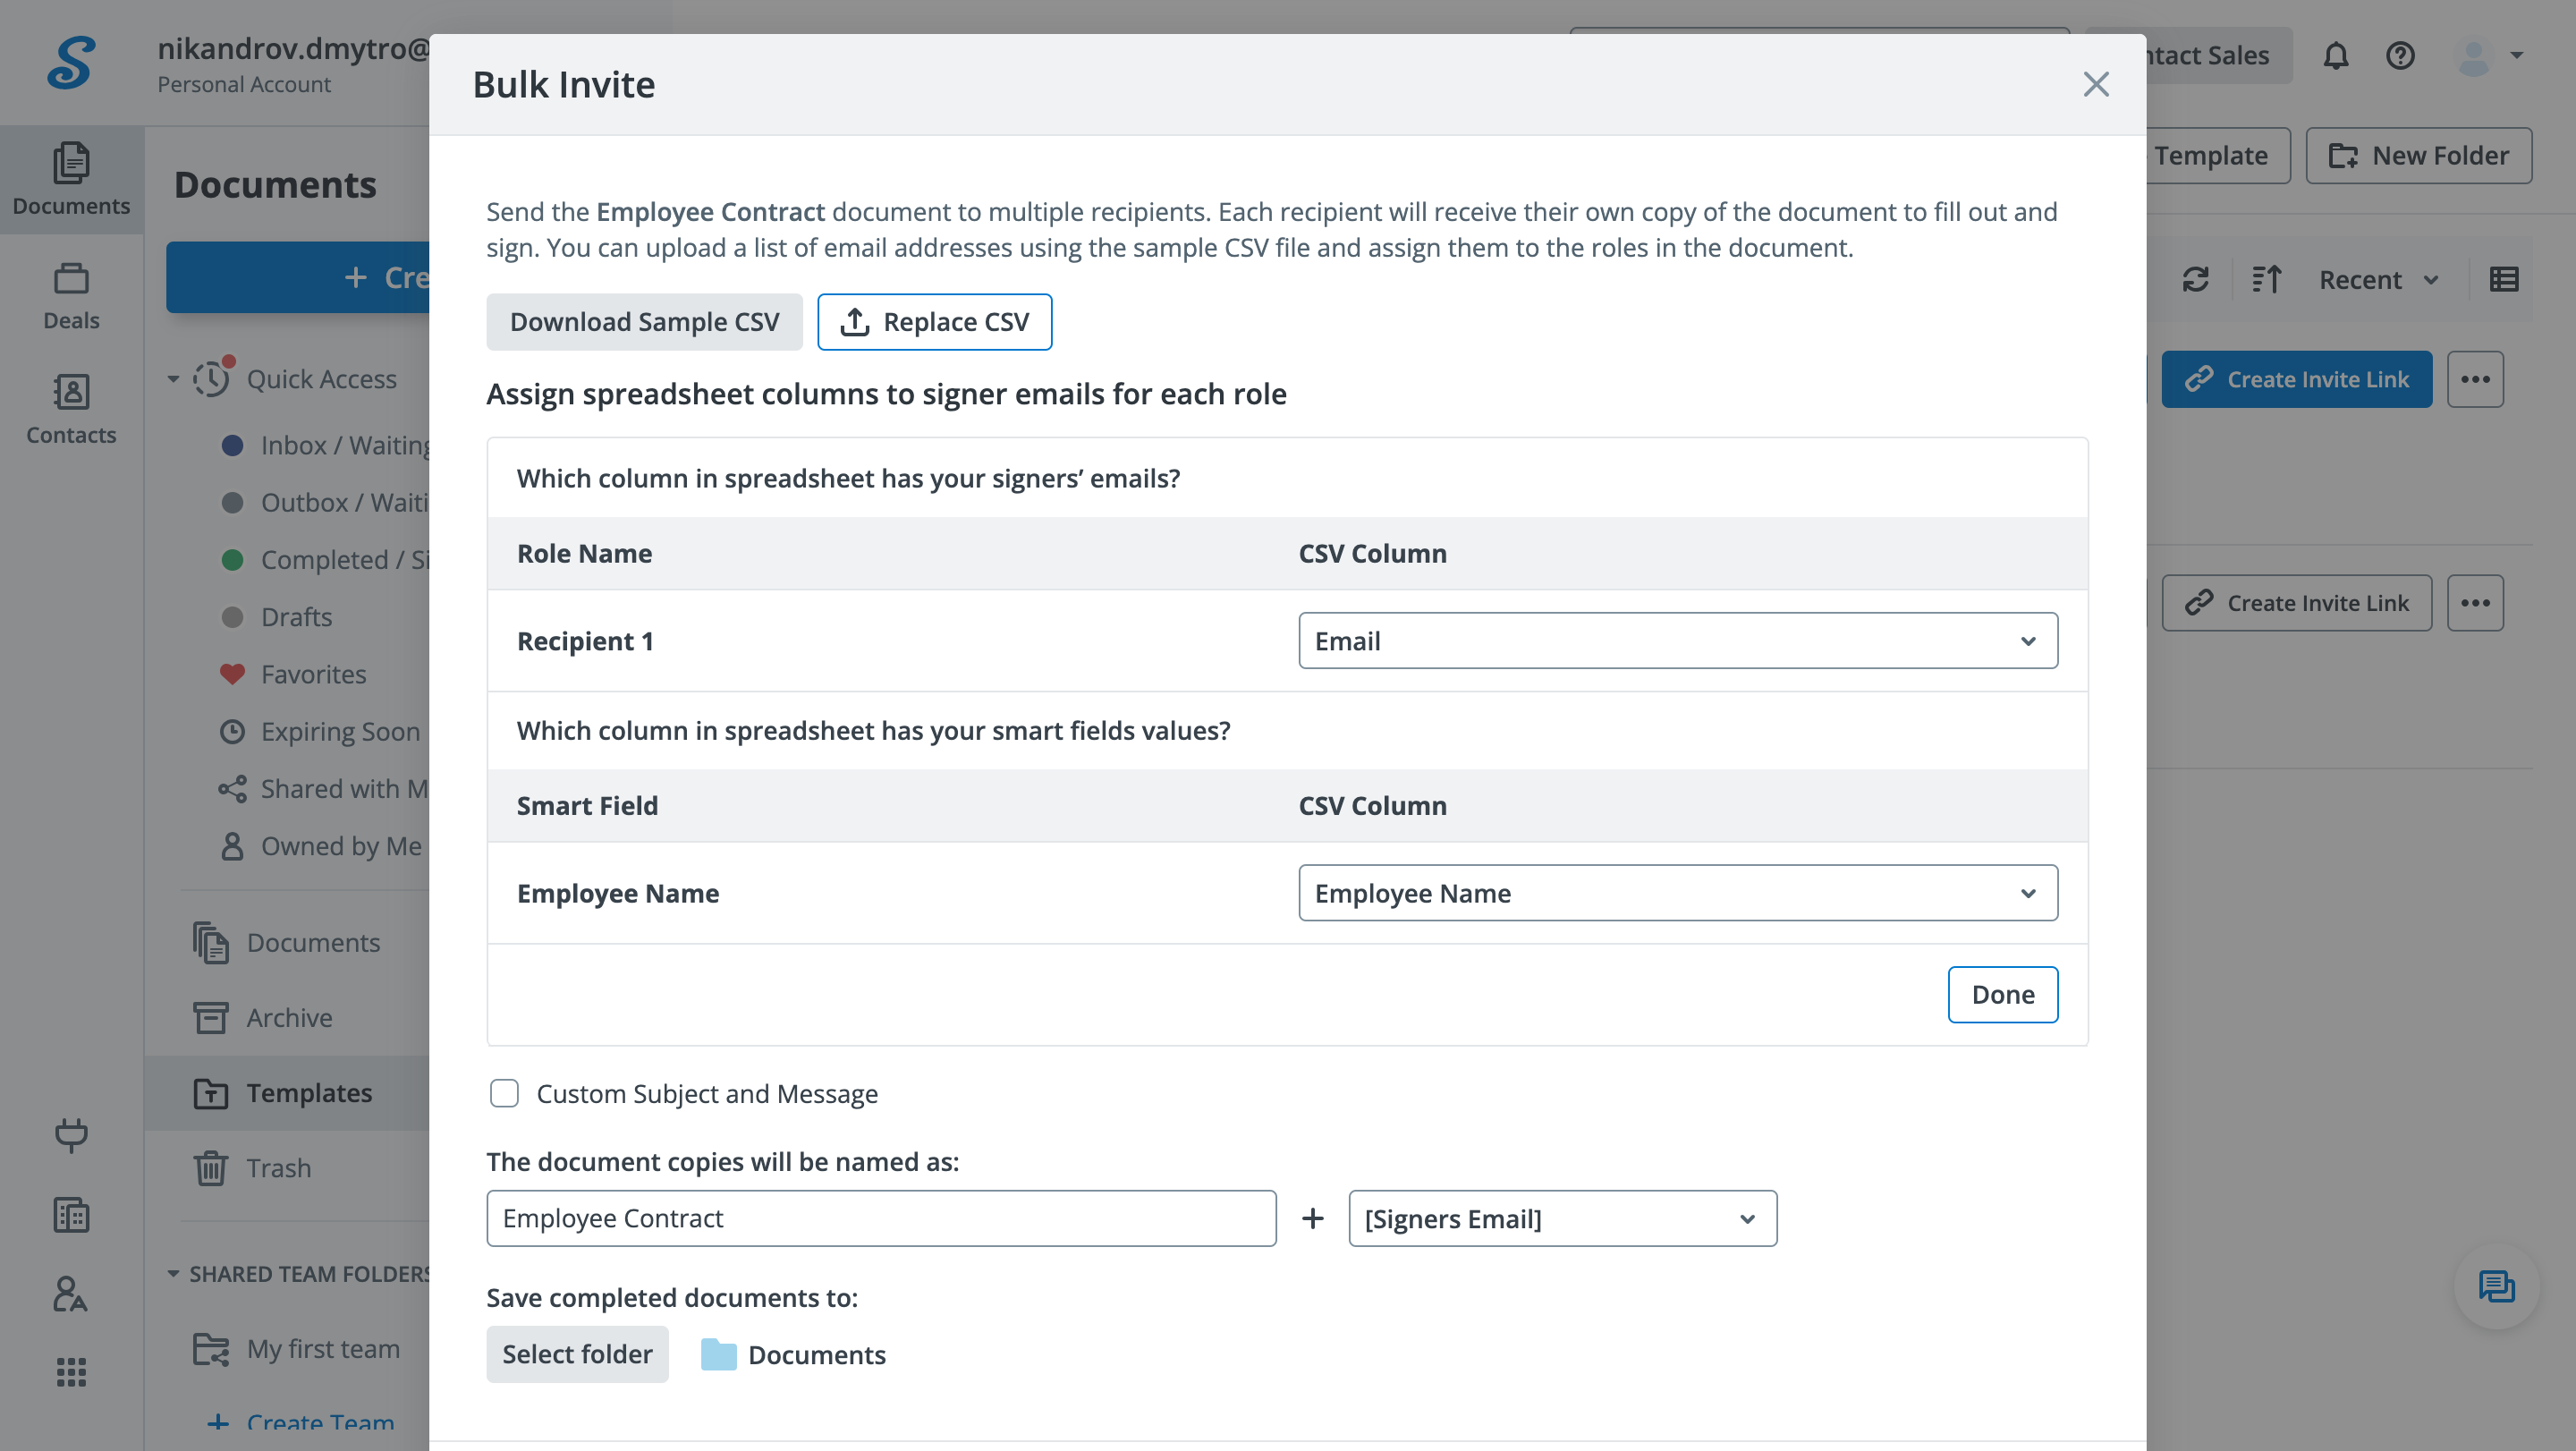
In the Bulk Invite popup, upload your CSV file and map columns to the respective Pre-Filled Text Fields, which are recognizable by their labels. When finished, click Done.
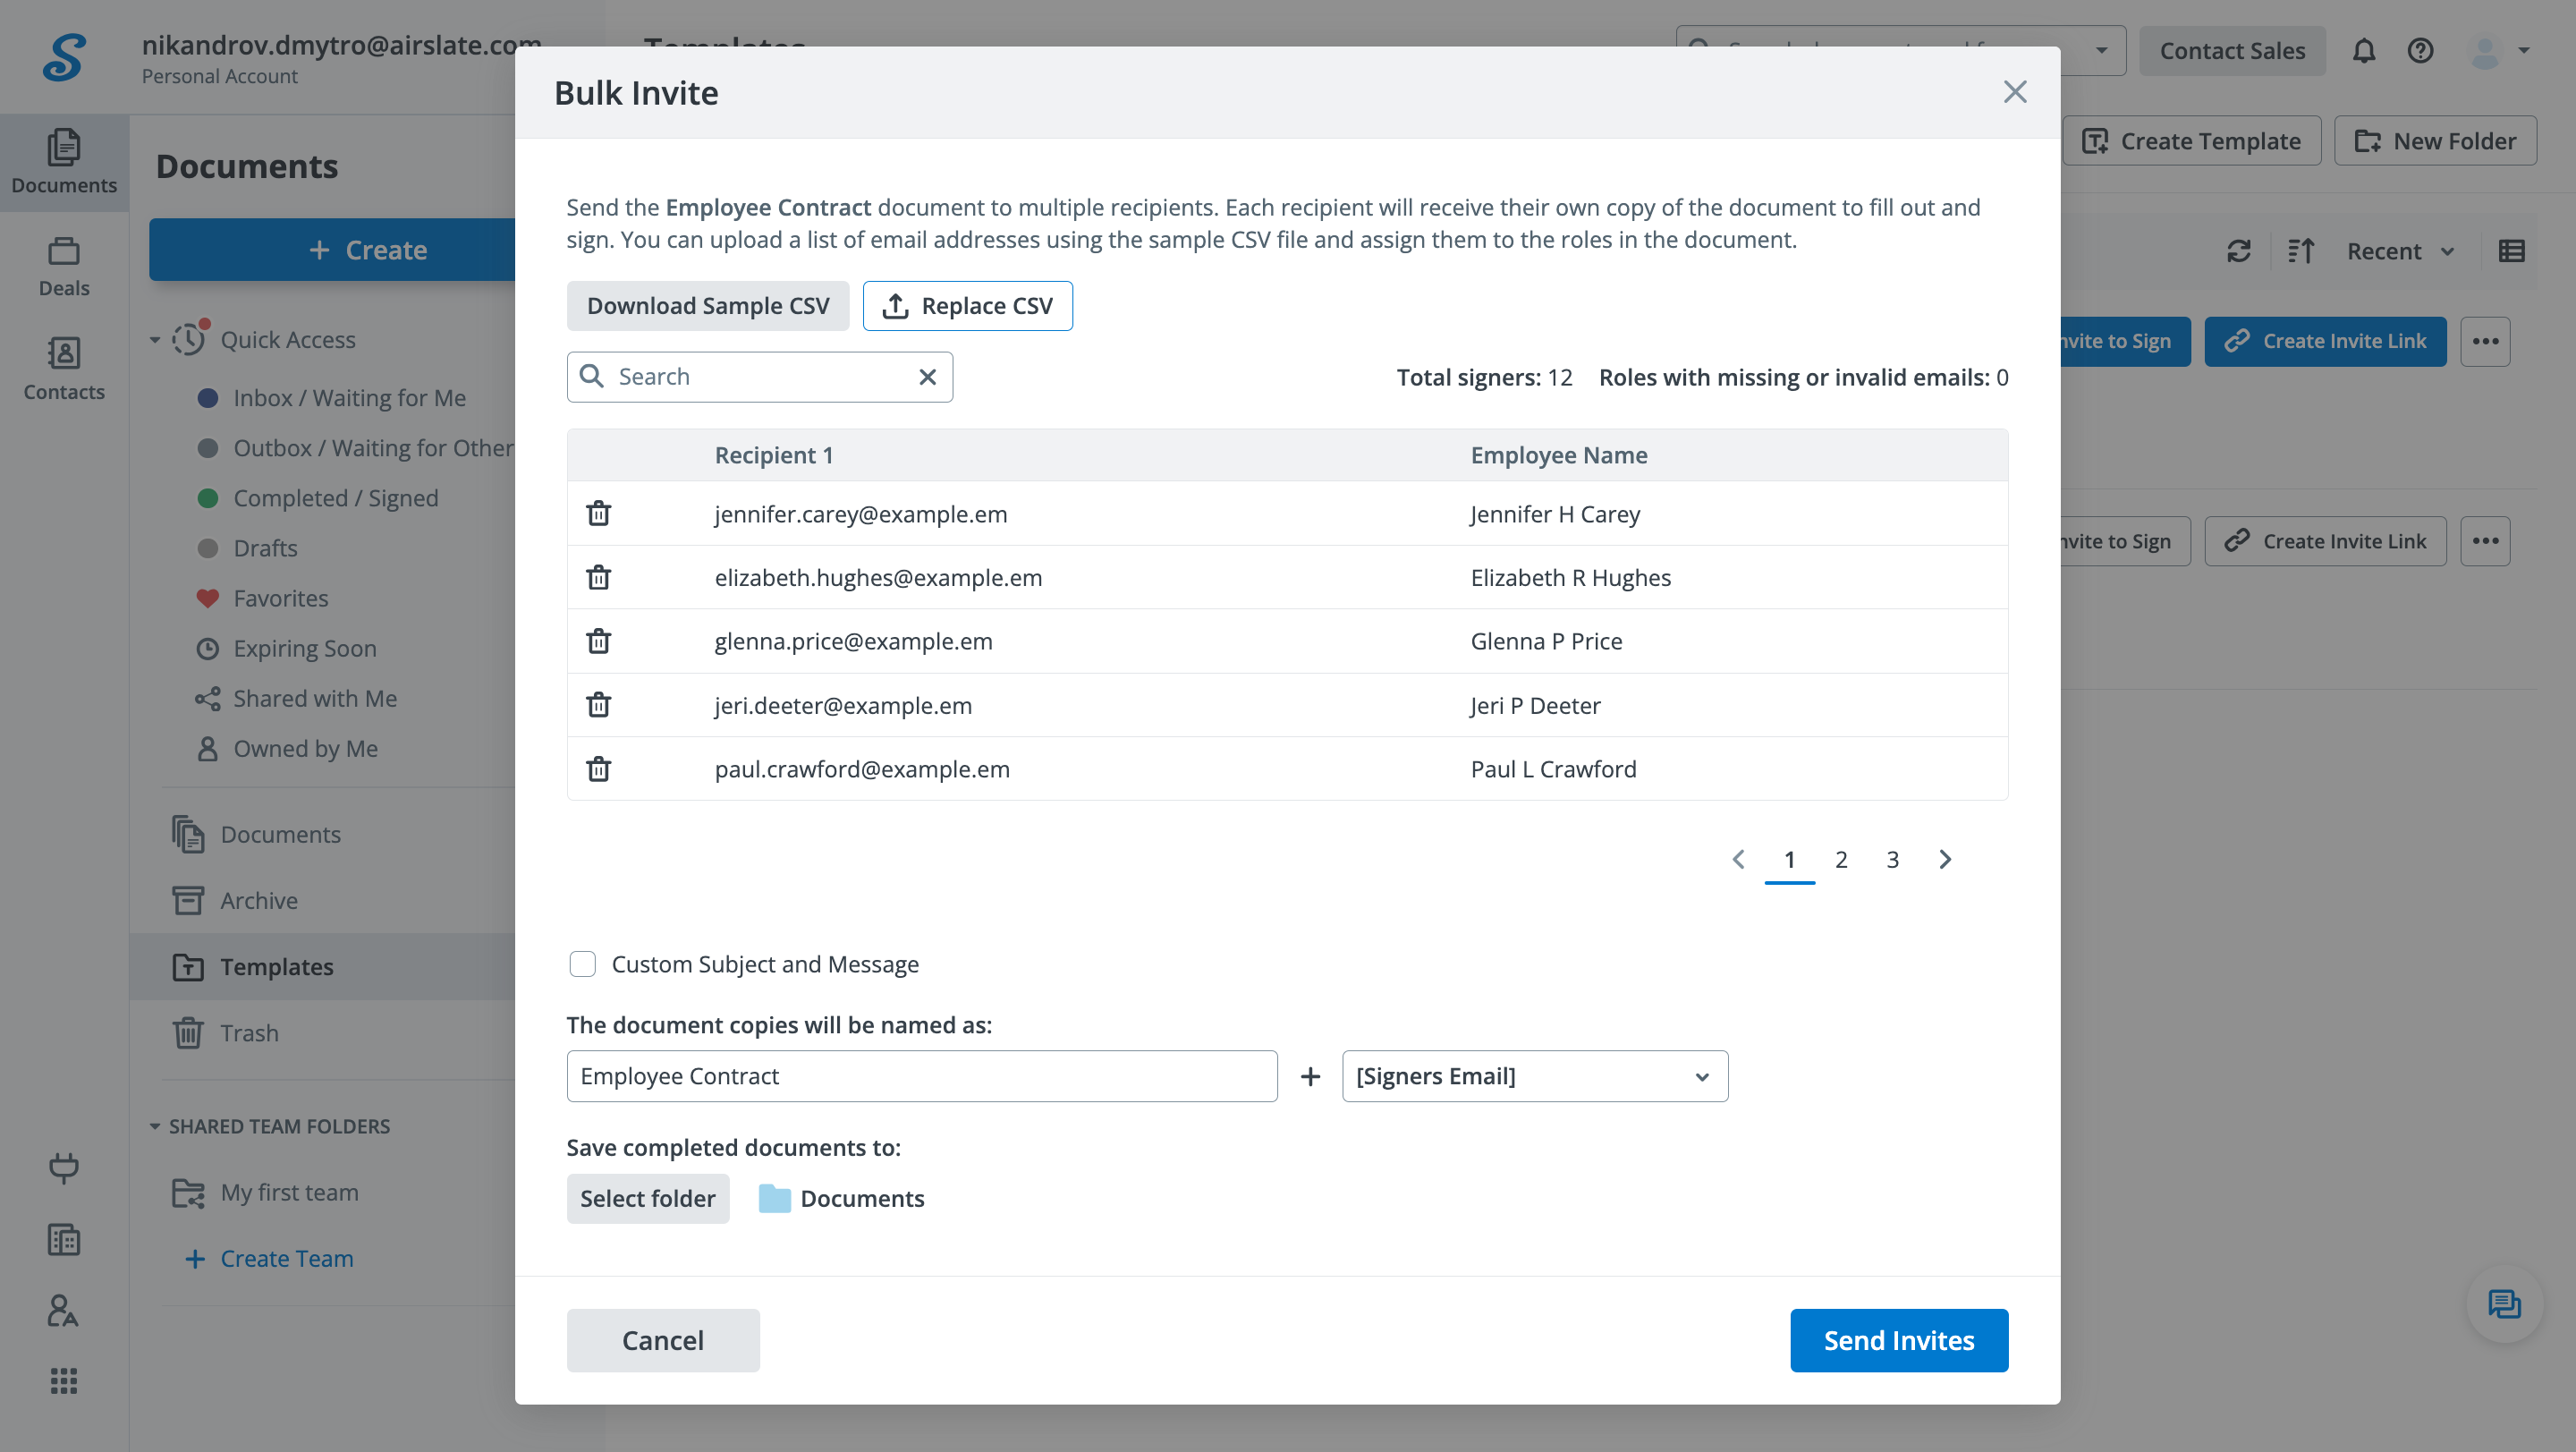
airSlate SignNow will extract data from your CSV and match it with the Pre-Filled Text Fields in your template. Once you click Send Invites, your signatories will receive pre-populated copies of the document.
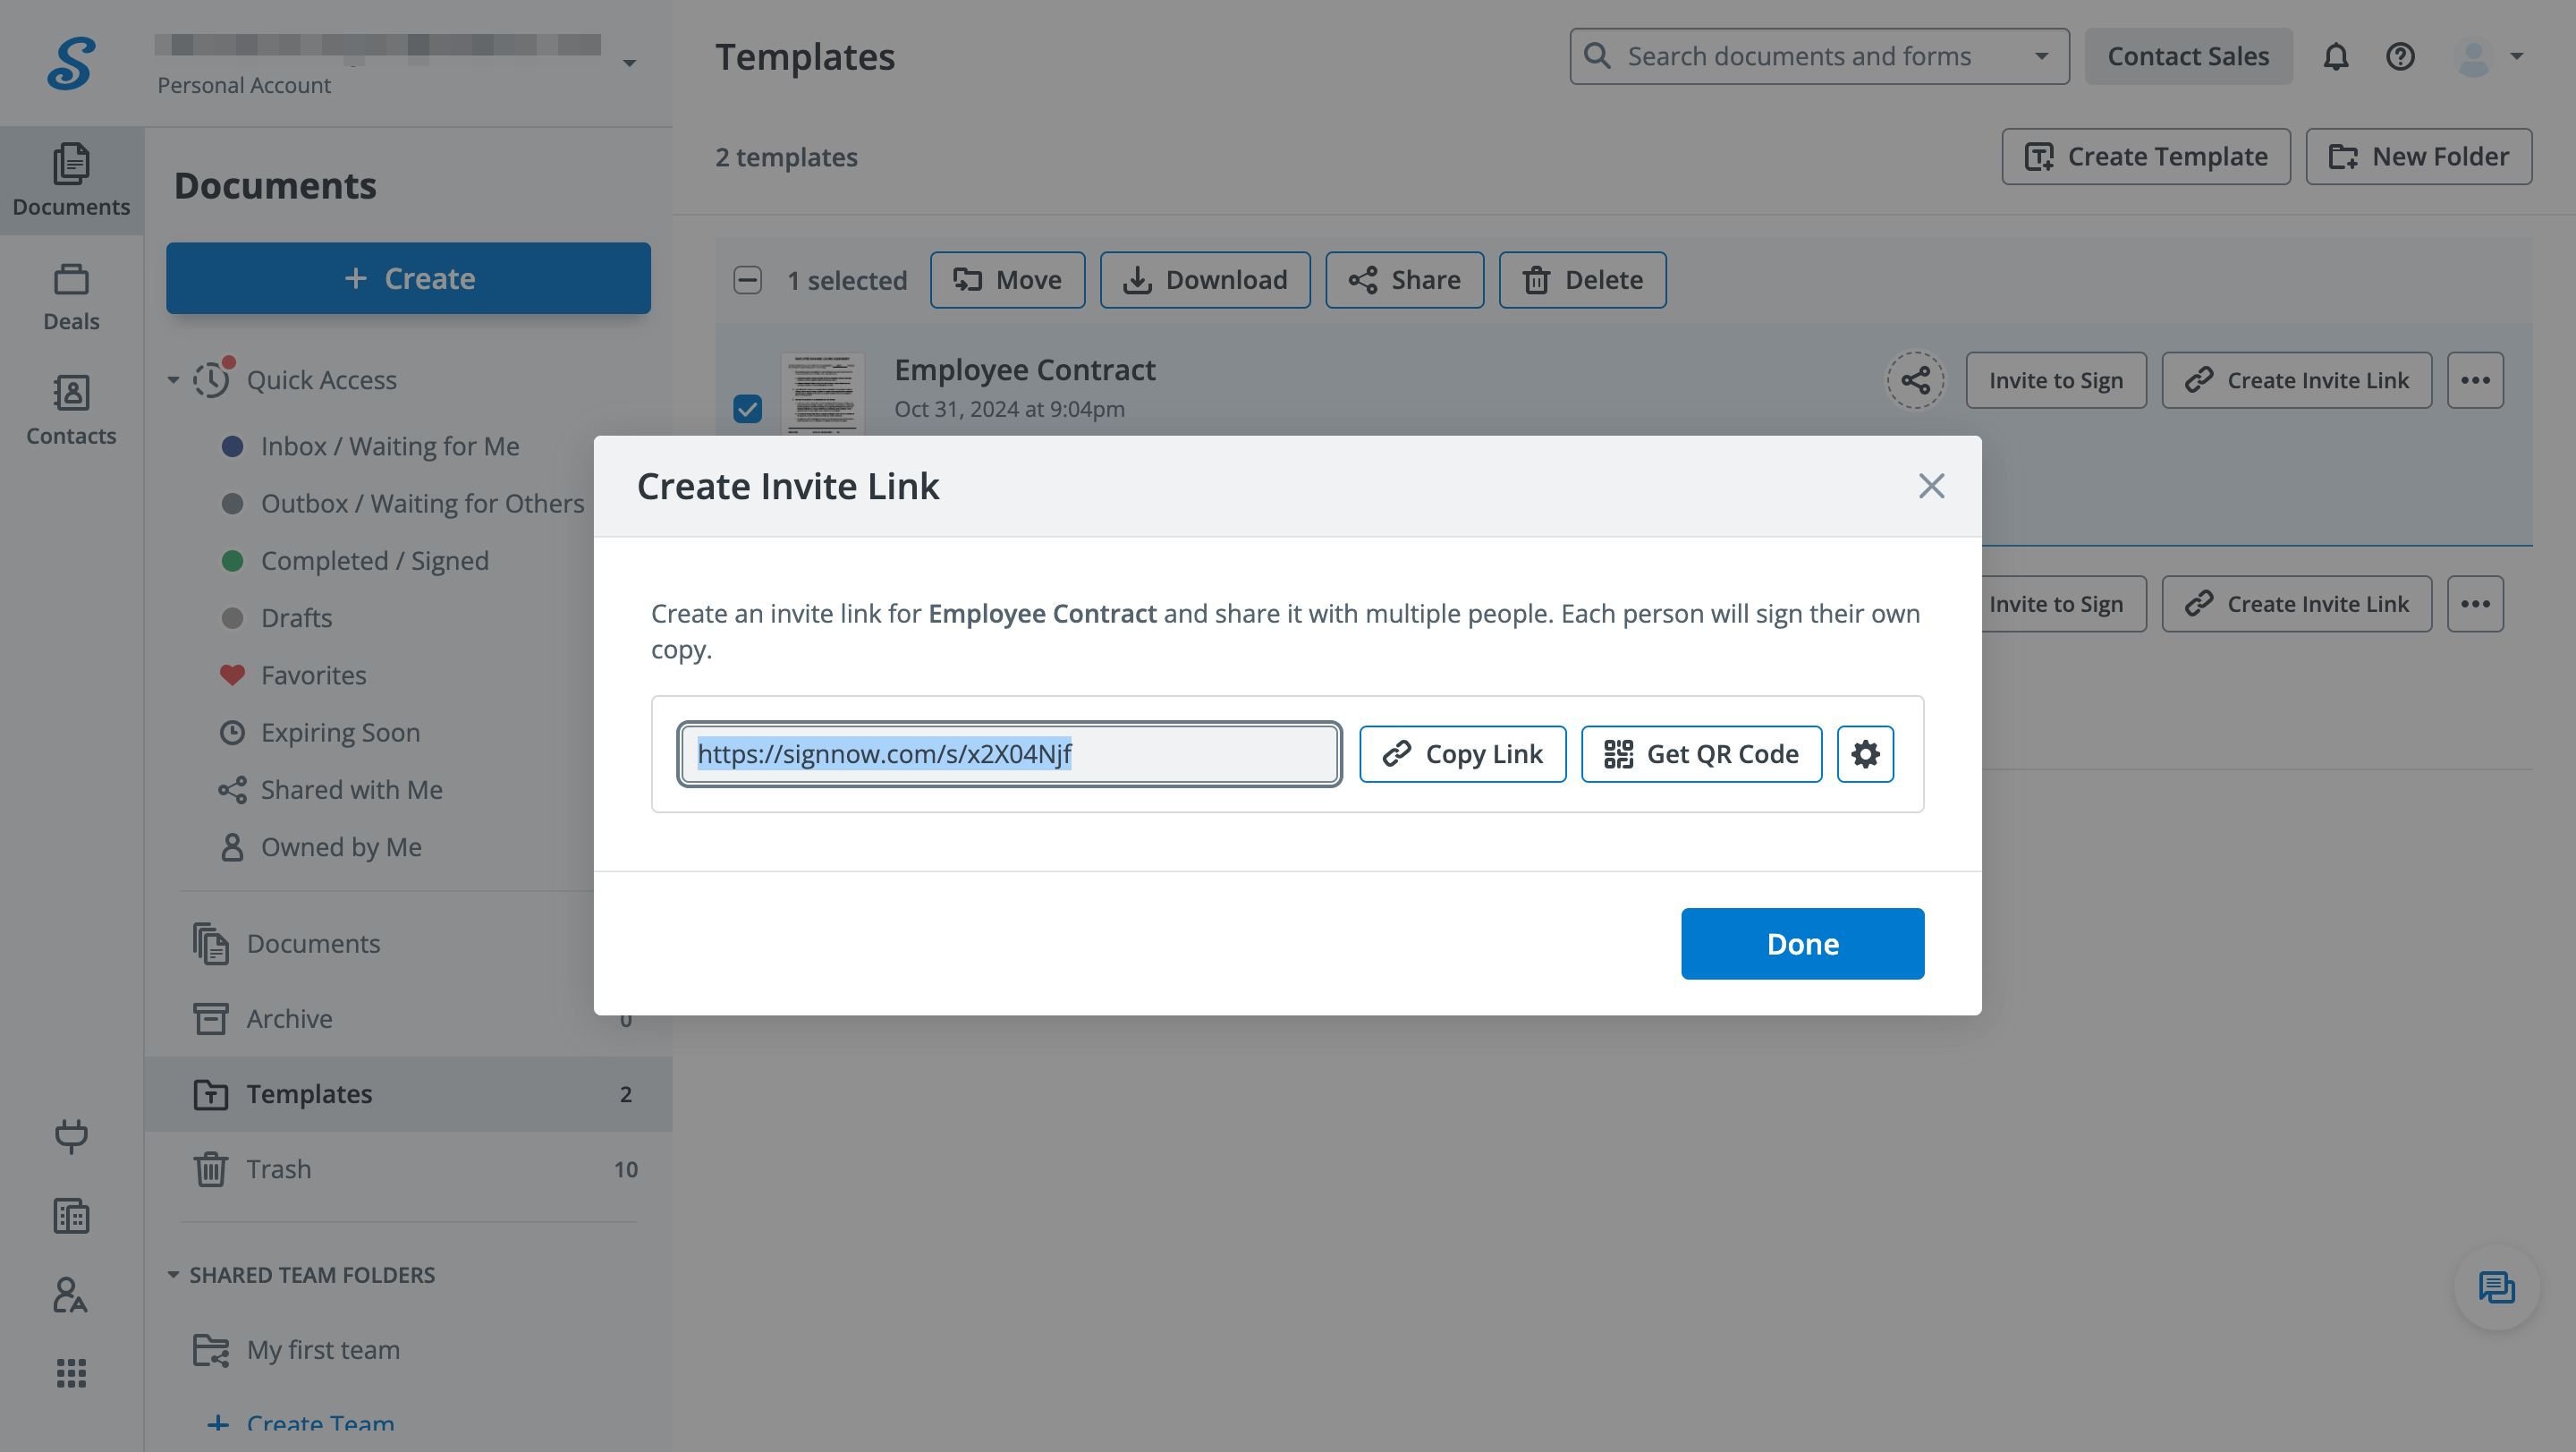
To auto-fill documents via an invite link, you need to modify the URL by including specific pre-fill values. Start by creating a template and adding Pre-Filled Text Fields, then generate an invite link.
Copy the link from the popup and paste it into any text editor or your internet browser’s URL bar.
Edit the invite’s URL using the logic described below:

Once all is set, share the link with the signatory. The values in the URL will automatically populate the corresponding Pre-Filled Text Fields.


