Role Templates
Predefine common recipient roles and required fields so templates auto-populate roles during document creation, reducing setup time and ensuring consistent routing for recurring agreement types.


Clear recipient assignment prevents misrouting, enforces signing order, and preserves legal admissibility by documenting who performed each action; it improves turnaround times and reduces administrative follow-up.

A Contract Manager configures recipient lists, sets signing order and approval gates, and maintains template-level recipient roles to reduce routing errors and support audit requirements for enterprise agreements.
A Sales Rep prepares documents, selects required signers and copy recipients, and often uses preconfigured recipient templates to ensure fast execution while preserving role-based access for legal review.
Legal, HR, sales, procurement, and operations teams assign recipients to ensure correct routing and accountability for document-based approvals.
Centralizing recipient assignment in admin roles or templates reduces errors and supports consistent, auditable workflows across departments.
Predefine common recipient roles and required fields so templates auto-populate roles during document creation, reducing setup time and ensuring consistent routing for recurring agreement types.
Configure rules that add or skip recipients based on field values or prior approvals, allowing flexible workflows that reflect business logic without manual intervention for each transaction.
Send a single document to many recipients with individualized recipient assignment per row, enabling mass distribution while preserving individual audit trails and signature records.
Attach fields specifically to recipient roles so only designated parties can complete, view, or edit certain fields, preventing accidental or unauthorized data entry.
Auto-populate recipient details from CRM or HR systems to reduce typing errors and ensure the right contacts are assigned by syncing authoritative records into the signing request.
Offer multiple authentication methods, including SMS OTP, knowledge-based checks, and digital certificates, to meet different levels of assurance for recipient identity verification.
Populate recipient emails and roles directly from document collaborators or form responses, allowing fast document creation and assignment without re-entering contact information.
Map CRM fields to signer roles so account contacts populate recipient lists automatically, enabling consistent routing for sales contracts and renewals.
Select stored files and associated metadata to auto-fill recipient details and preserve document provenance when creating signature requests.
Create reusable templates with preassigned recipient roles and signing order to reduce errors and speed repetitive workflows across teams.

| Setting Name | Configuration |
|---|---|
| Signing Order Enforcement | Sequential or Parallel |
| Default Authentication Level | Email OTP |
| Reminder Frequency | 48 hours |
| Conditional Recipient Rules | Field-based triggers |
| Document Locking After Sign | Enabled |
Recipient assignment and signing workflows should work consistently across desktop, mobile web, and native apps while preserving authentication and audit records.
Ensure chosen platforms maintain equivalent security controls and authentication options across device types so recipient assignment rules and audit trails remain consistent and enforceable.
A hospital routes consent forms first to the clinician for review and then to the patient for signature
Resulting in stronger compliance with HIPAA and auditable consent records.
A closing coordinator assigns seller and buyer as sequential signers, with title agent as a final reviewer
Leading to clear chain of custody and reduced settlement delays.
| Comparison Criteria across Major Providers | signNow | DocuSign | Adobe Sign |
|---|---|---|---|
| Ability to assign recipients of the document | |||
| Control of signing order and routing | Sequential or Parallel | Sequential or Parallel | Sequential or Parallel |
| Conditional recipient routing | Field-based rules | Conditional routing | Limited conditional rules |
| Bulk recipient assignments for large sends | Bulk Send available | Bulk Send available | Bulk Send available |
| Pricing Tiers and Vendors | signNow (Featured) | DocuSign | Adobe Sign | Dropbox Sign | PandaDoc |
|---|---|---|---|---|---|
| Free plan availability | Free trial only | No permanent free plan | No permanent free plan | Limited free plan | No permanent free plan |
| Entry-level monthly price | Starts around $8 per user | Starts around $10 per user | Starts around $12 per user | Starts around $12 per user | Starts around $19 per user |
| Business plan includes bulk and templates | Available in Business plans | Available in Business plans | Available in Business plans | Available; limits vary | Available in paid plans |
| Enterprise-level routing and SSO | Enterprise options with SSO | Enterprise with SSO | Enterprise with SSO | Enterprise with SSO | Enterprise with SSO |
| Per-user vs per-seat billing | Per-user billing common | Per-user billing common | Per-user billing common | Per-user billing common | Per-user billing common |
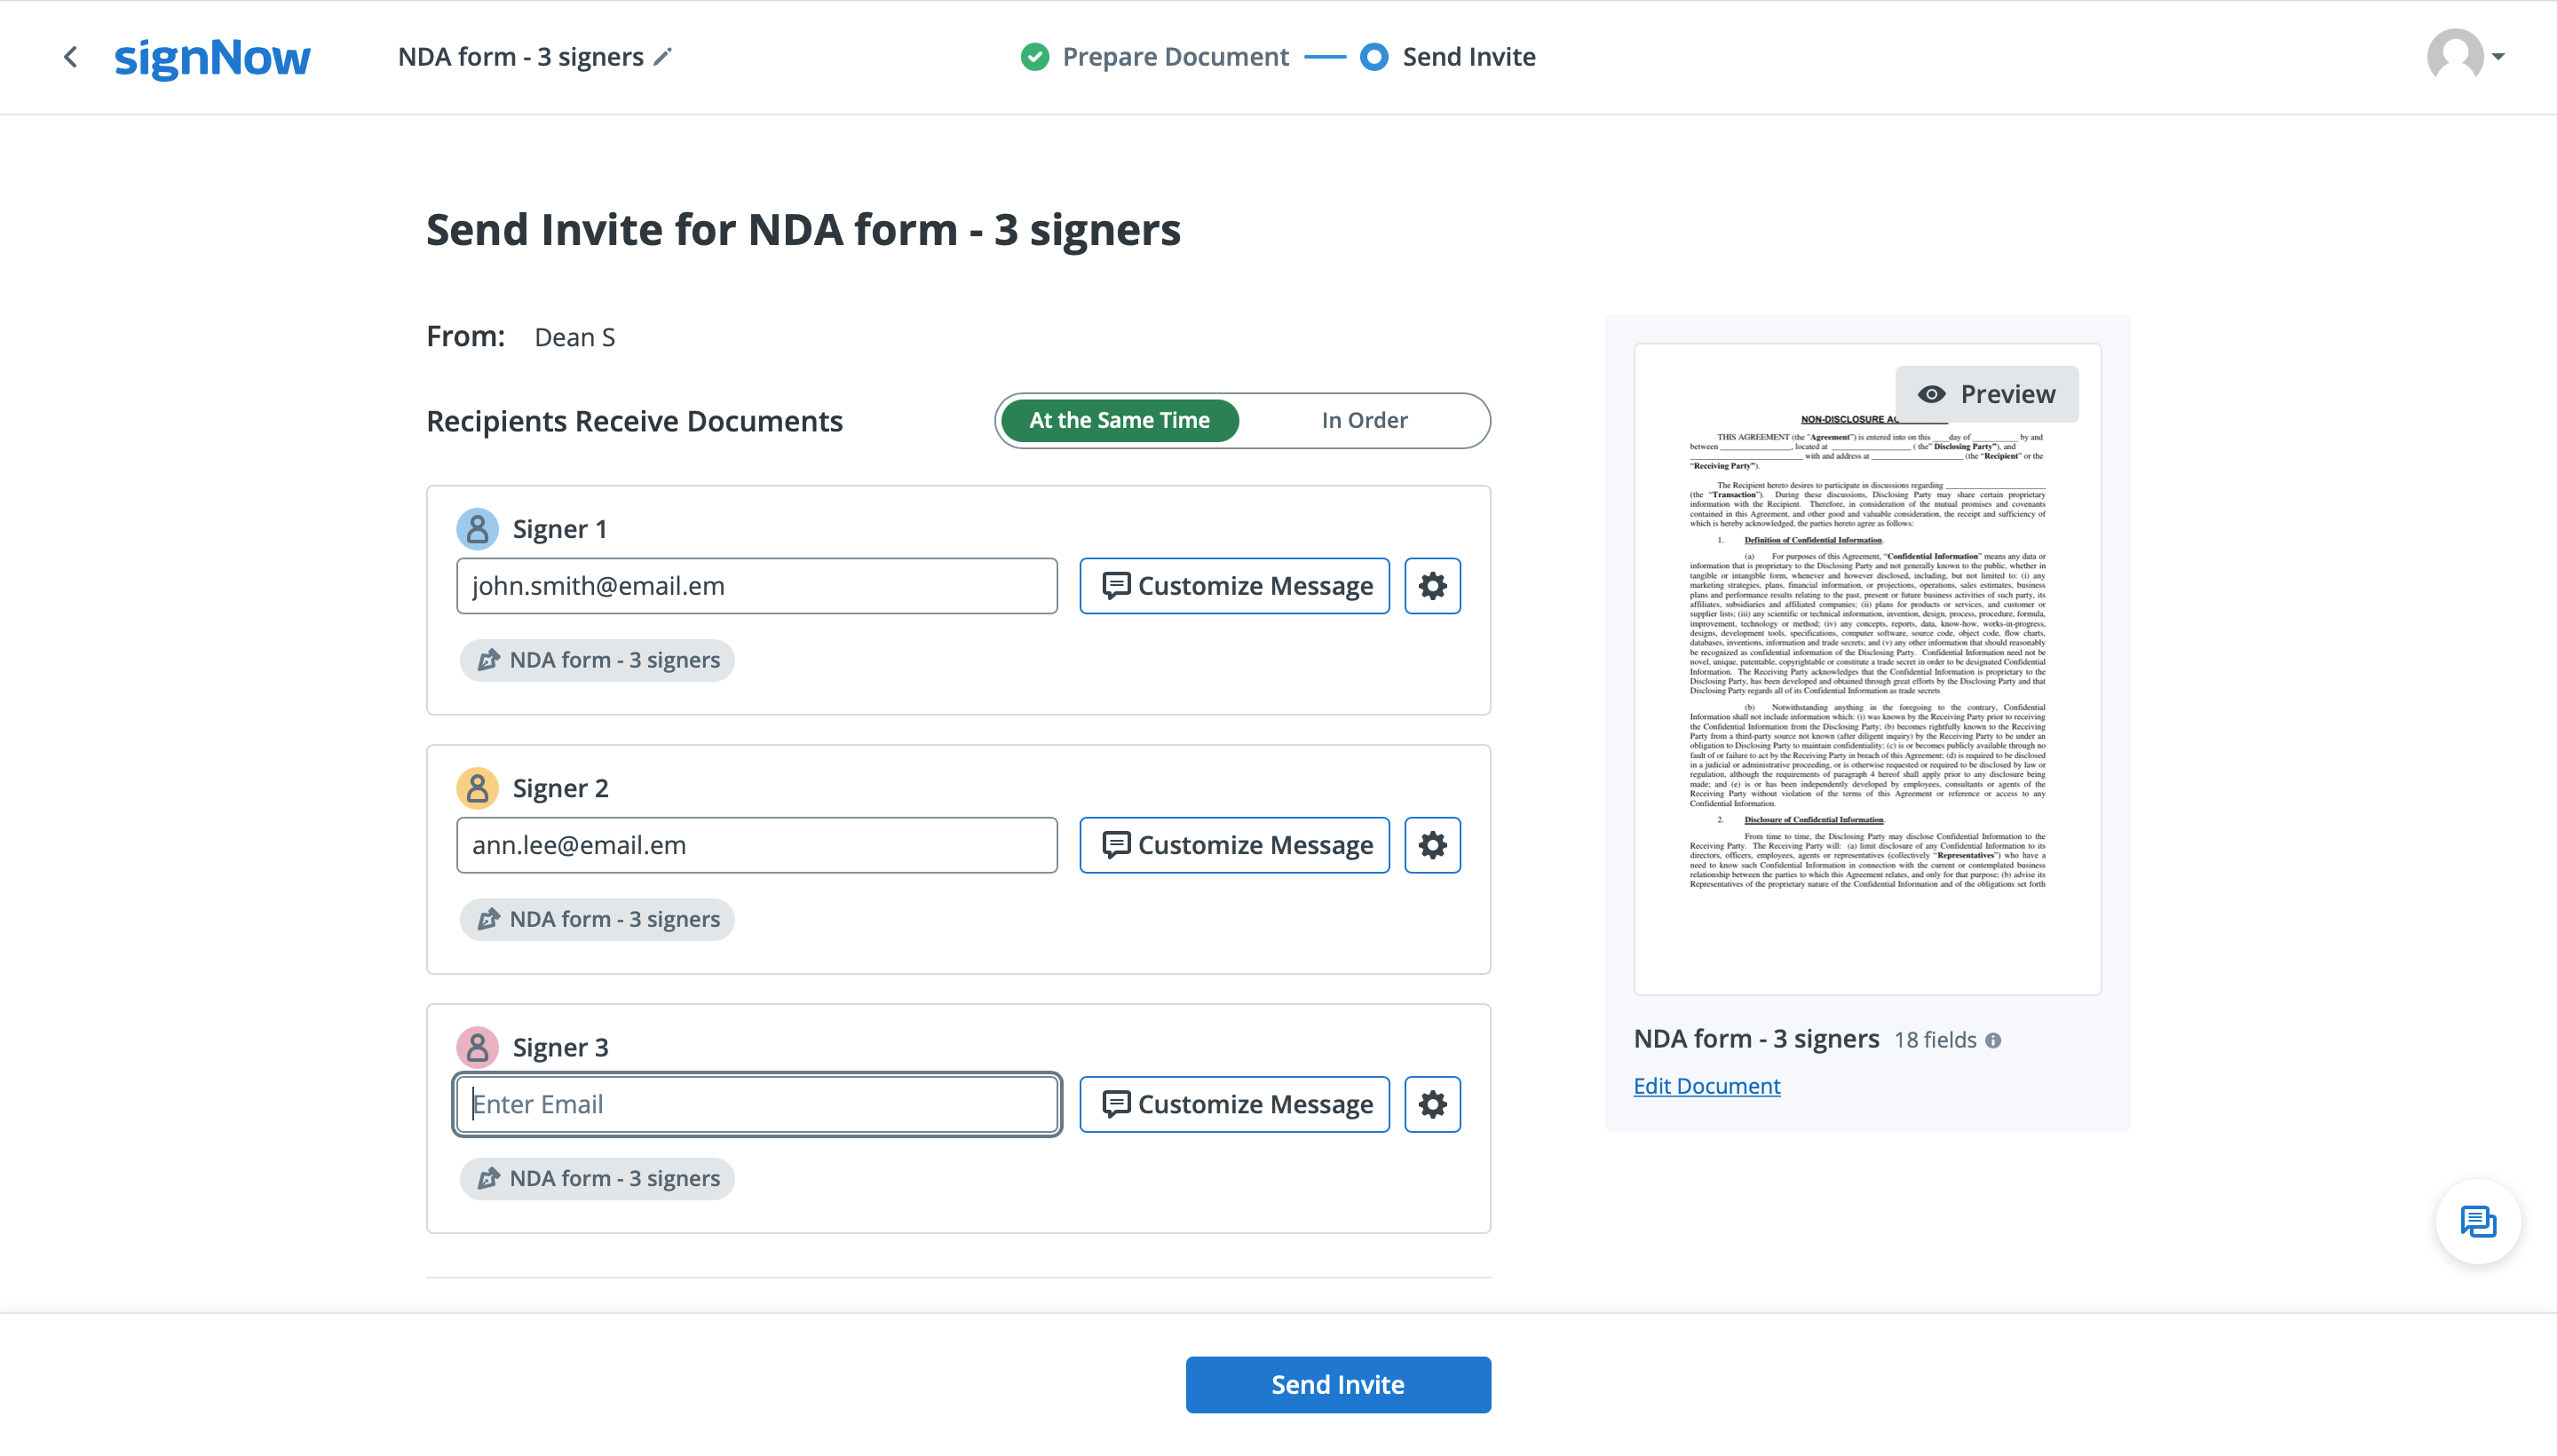
Need several signers to complete a single document? airSlate SignNow makes it easy by allowing you to assign fillable fields to different recipients. Once this is done, your signers will be able to fill out only those fields you’ve authorized for them.
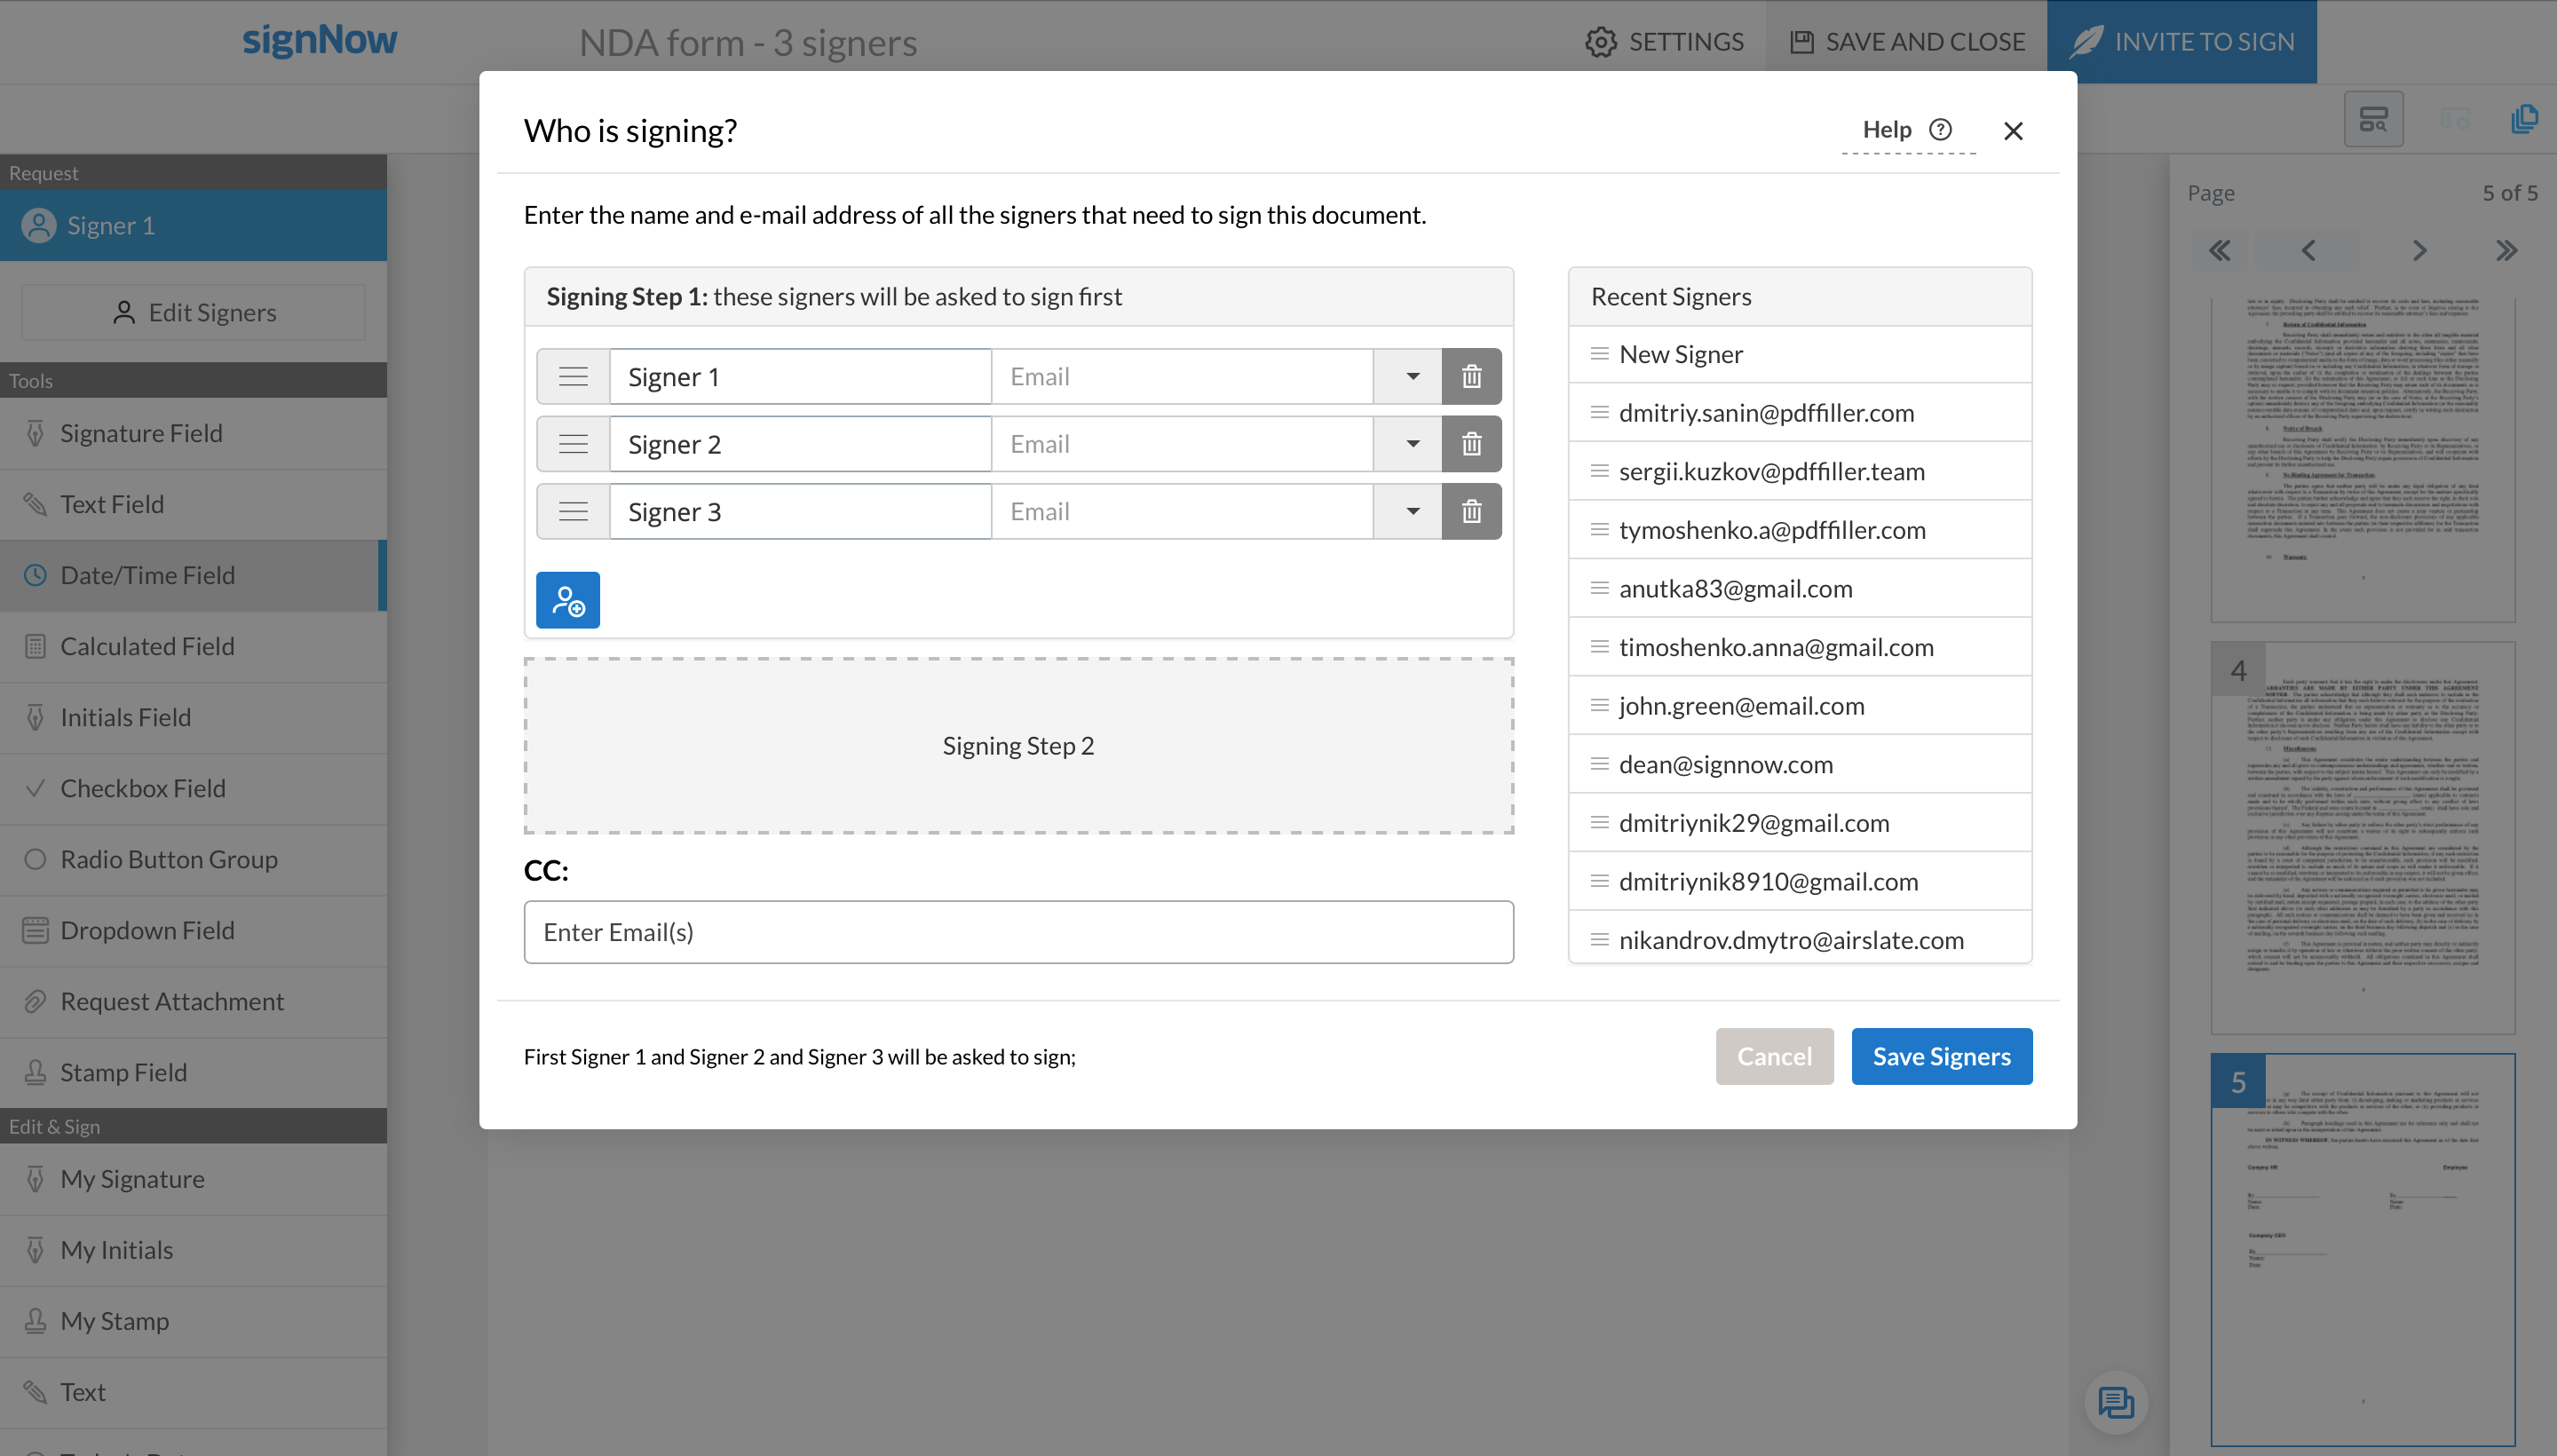
Open your document in the airSlate SignNow editor and click the Edit Signers button in the toolbar on the left.
To add one or multiple signers to your document, click on the blue silhouette icon. You can also edit signers’ names and add their email addresses right away.
When finished, click Save Signers.
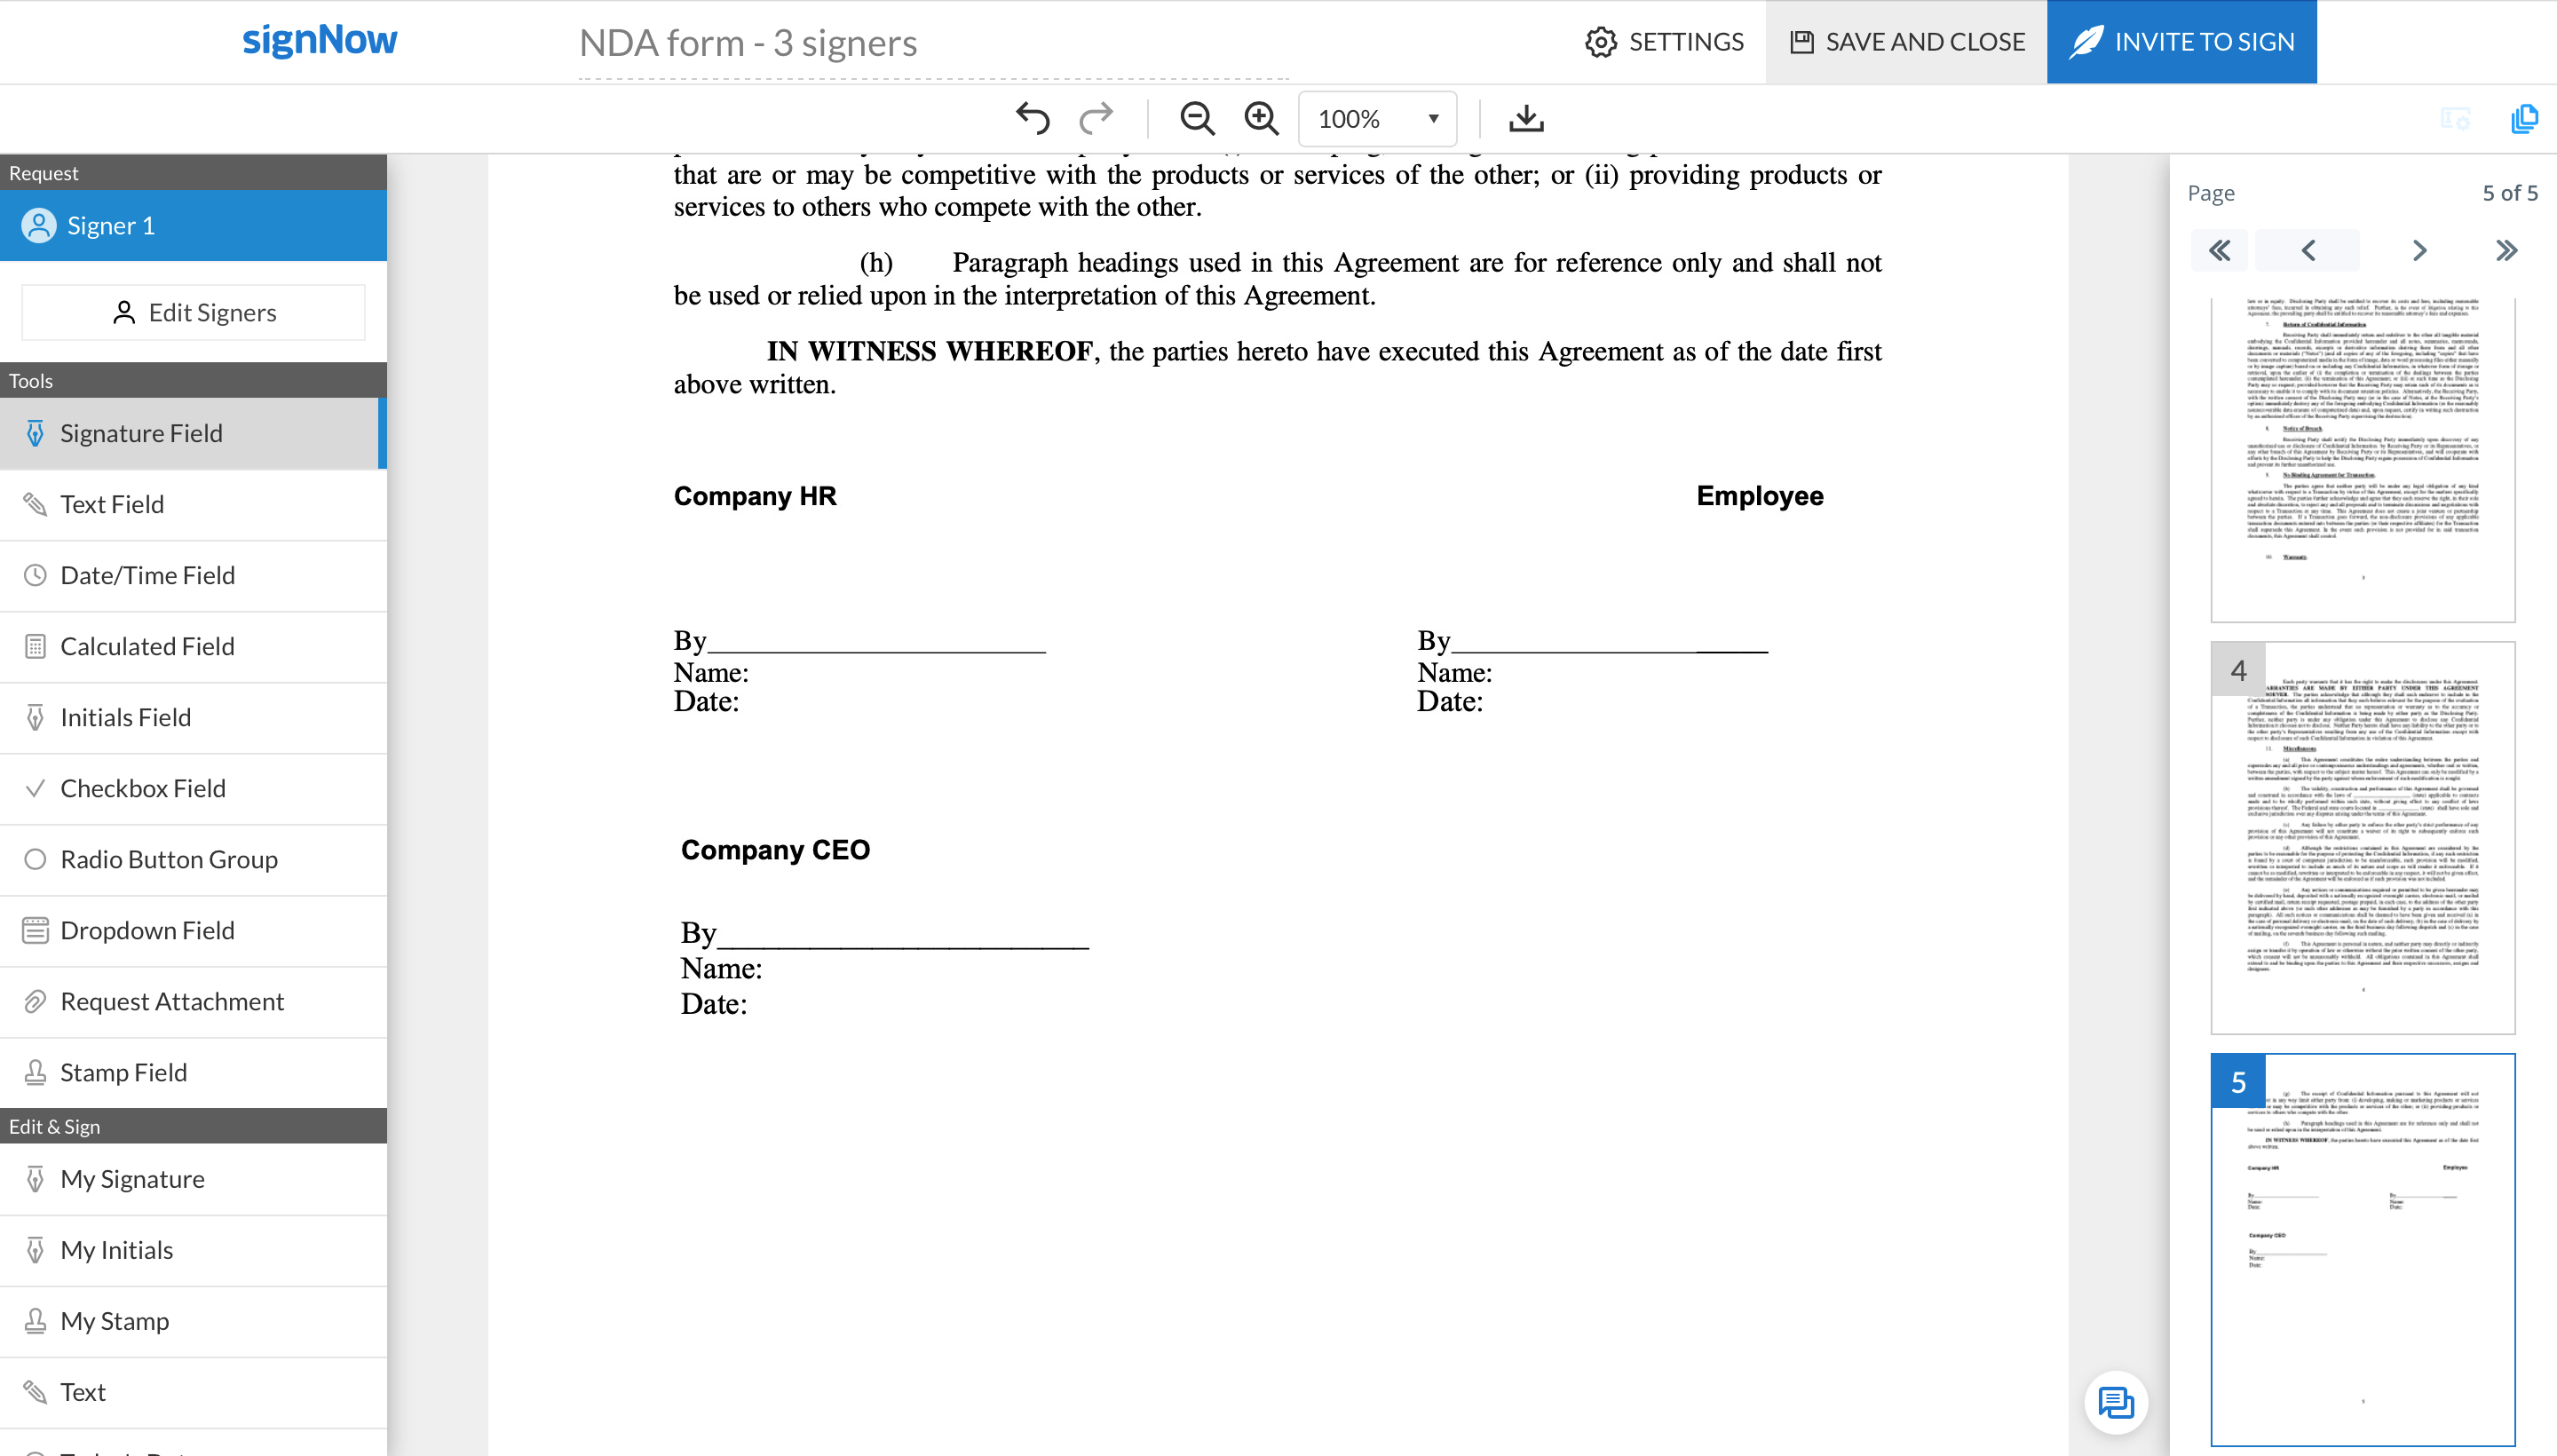
In the instrument panel on the left, select your first recipient and choose the fields below to assign them to. Place the selected fields on the document and adjust their size and positioning using drag and drop.
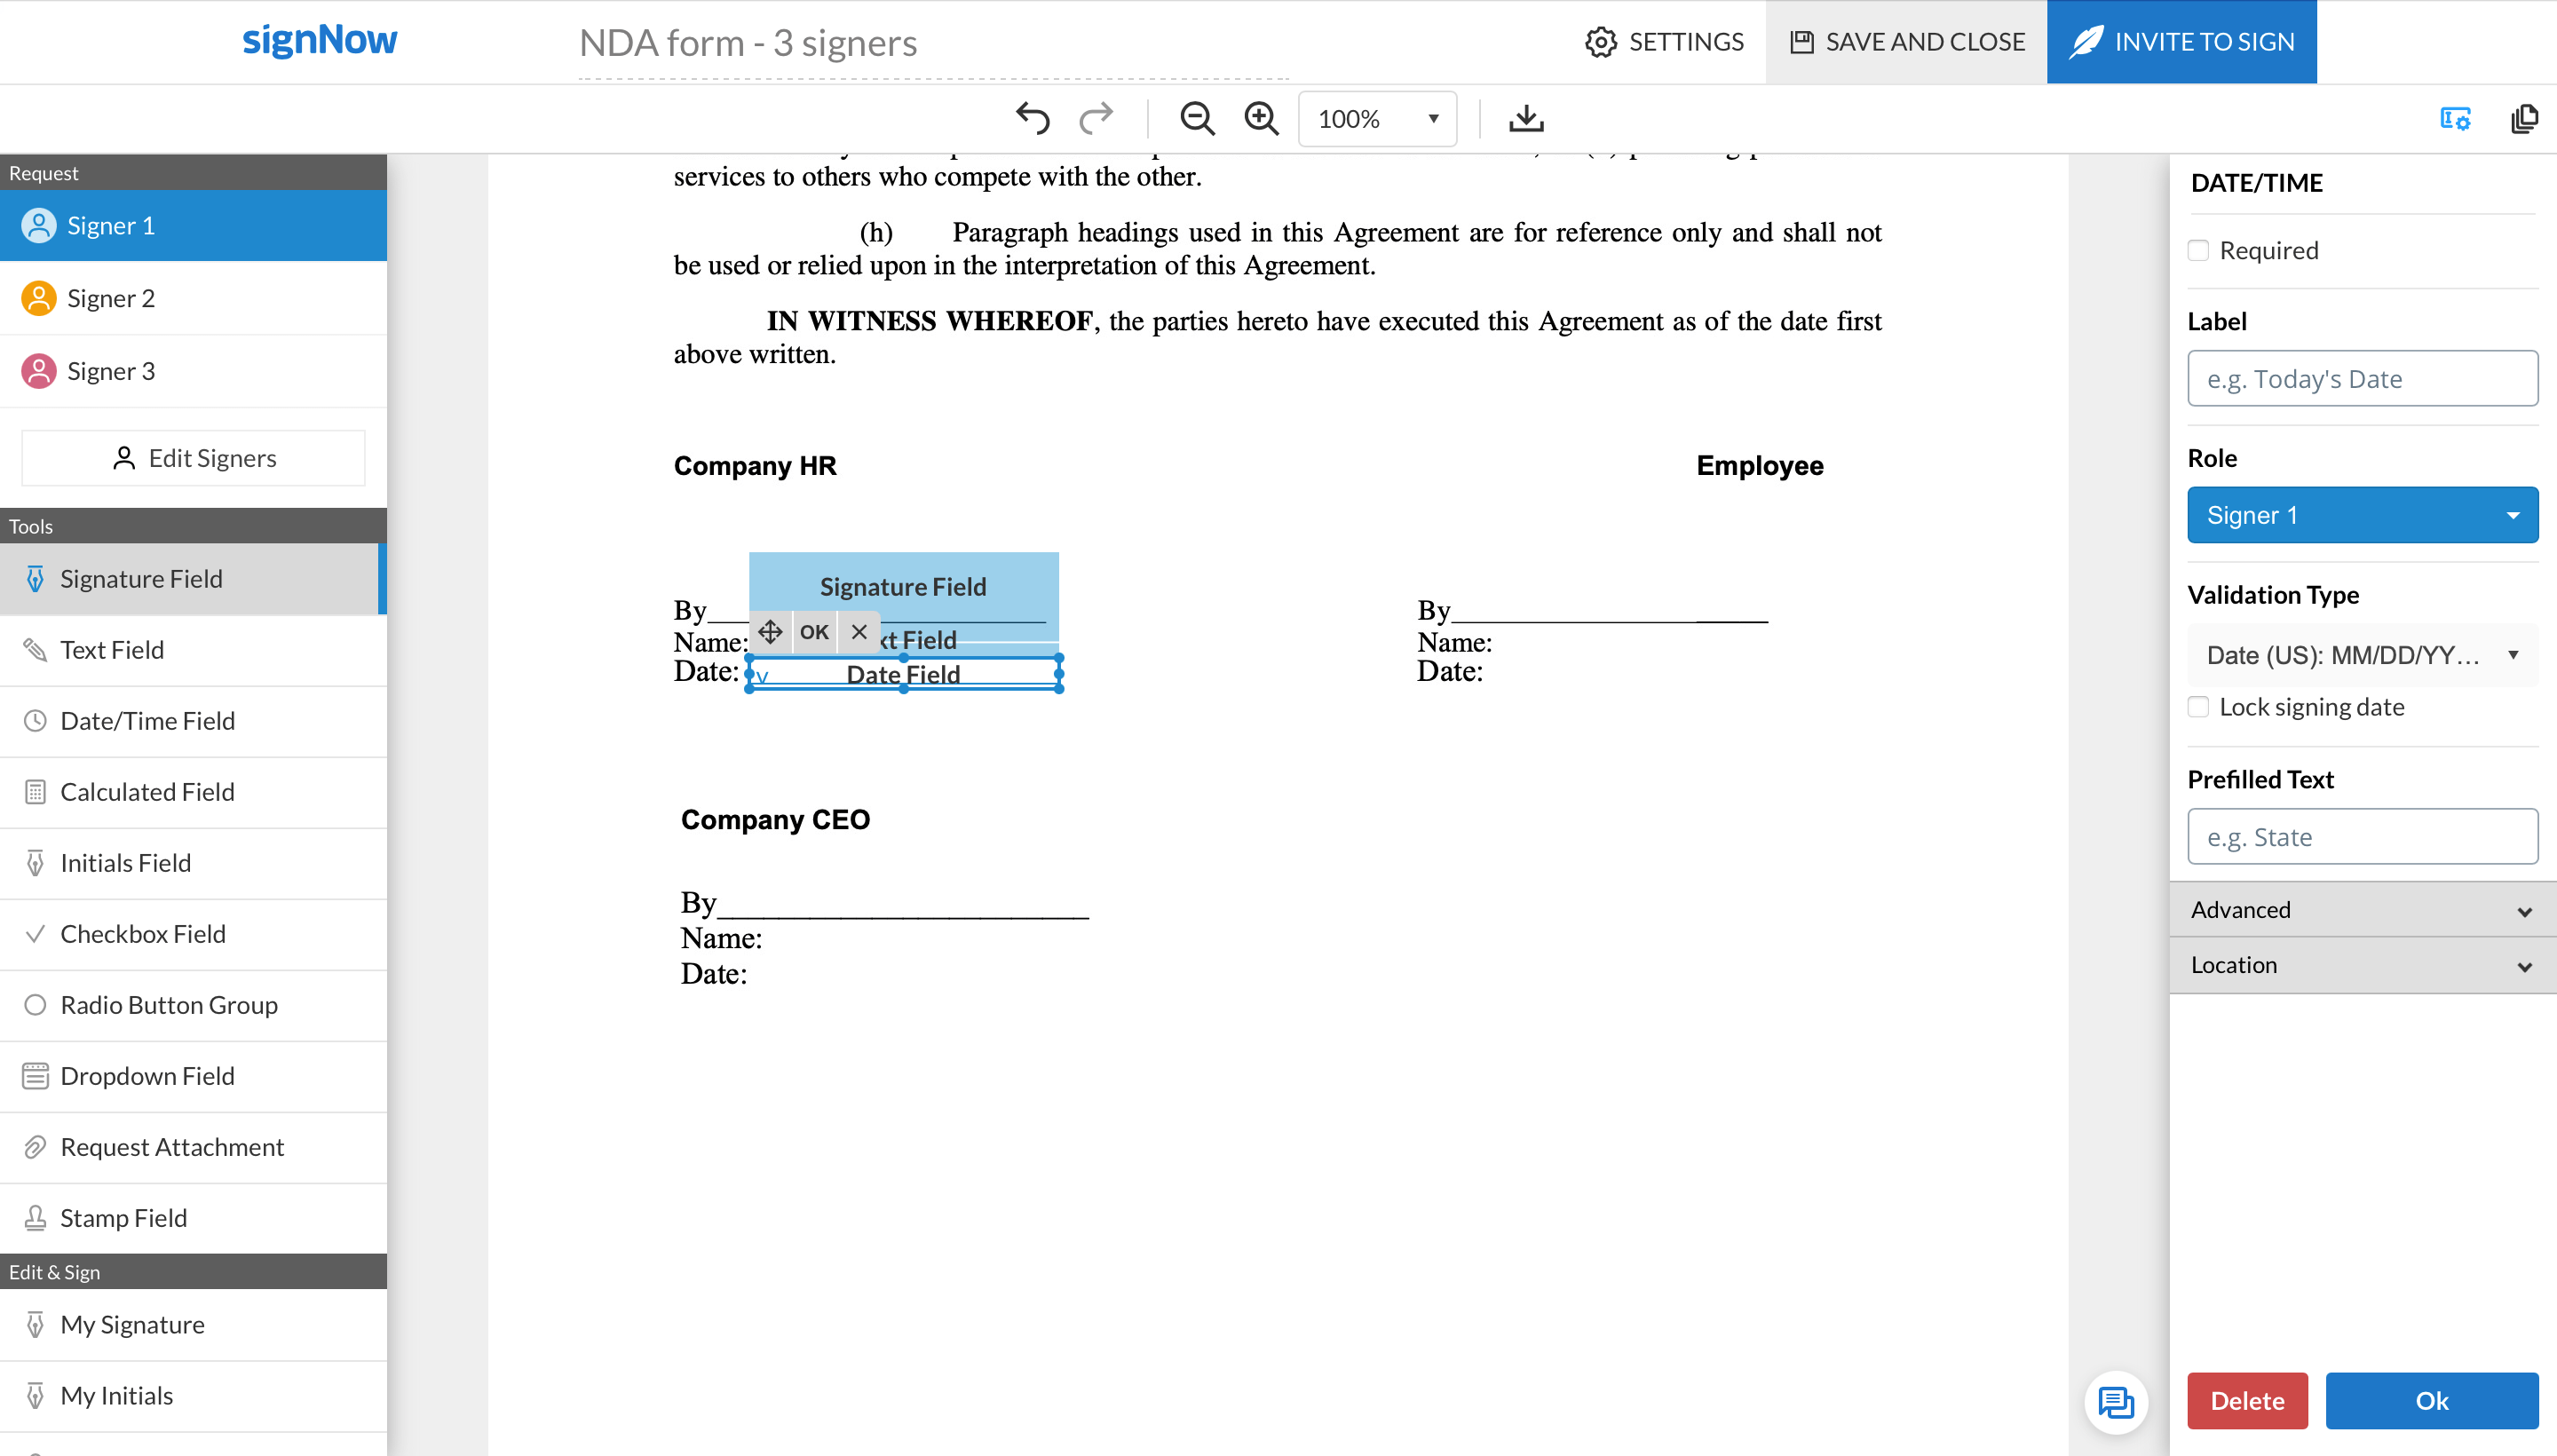
Select the second and the third recipient (depending on how many signers you added) and add more fields to the document. The different colors of your fillable fields indicate that they are assigned to different signers.
When finished adding fields, click Invite to Sign.
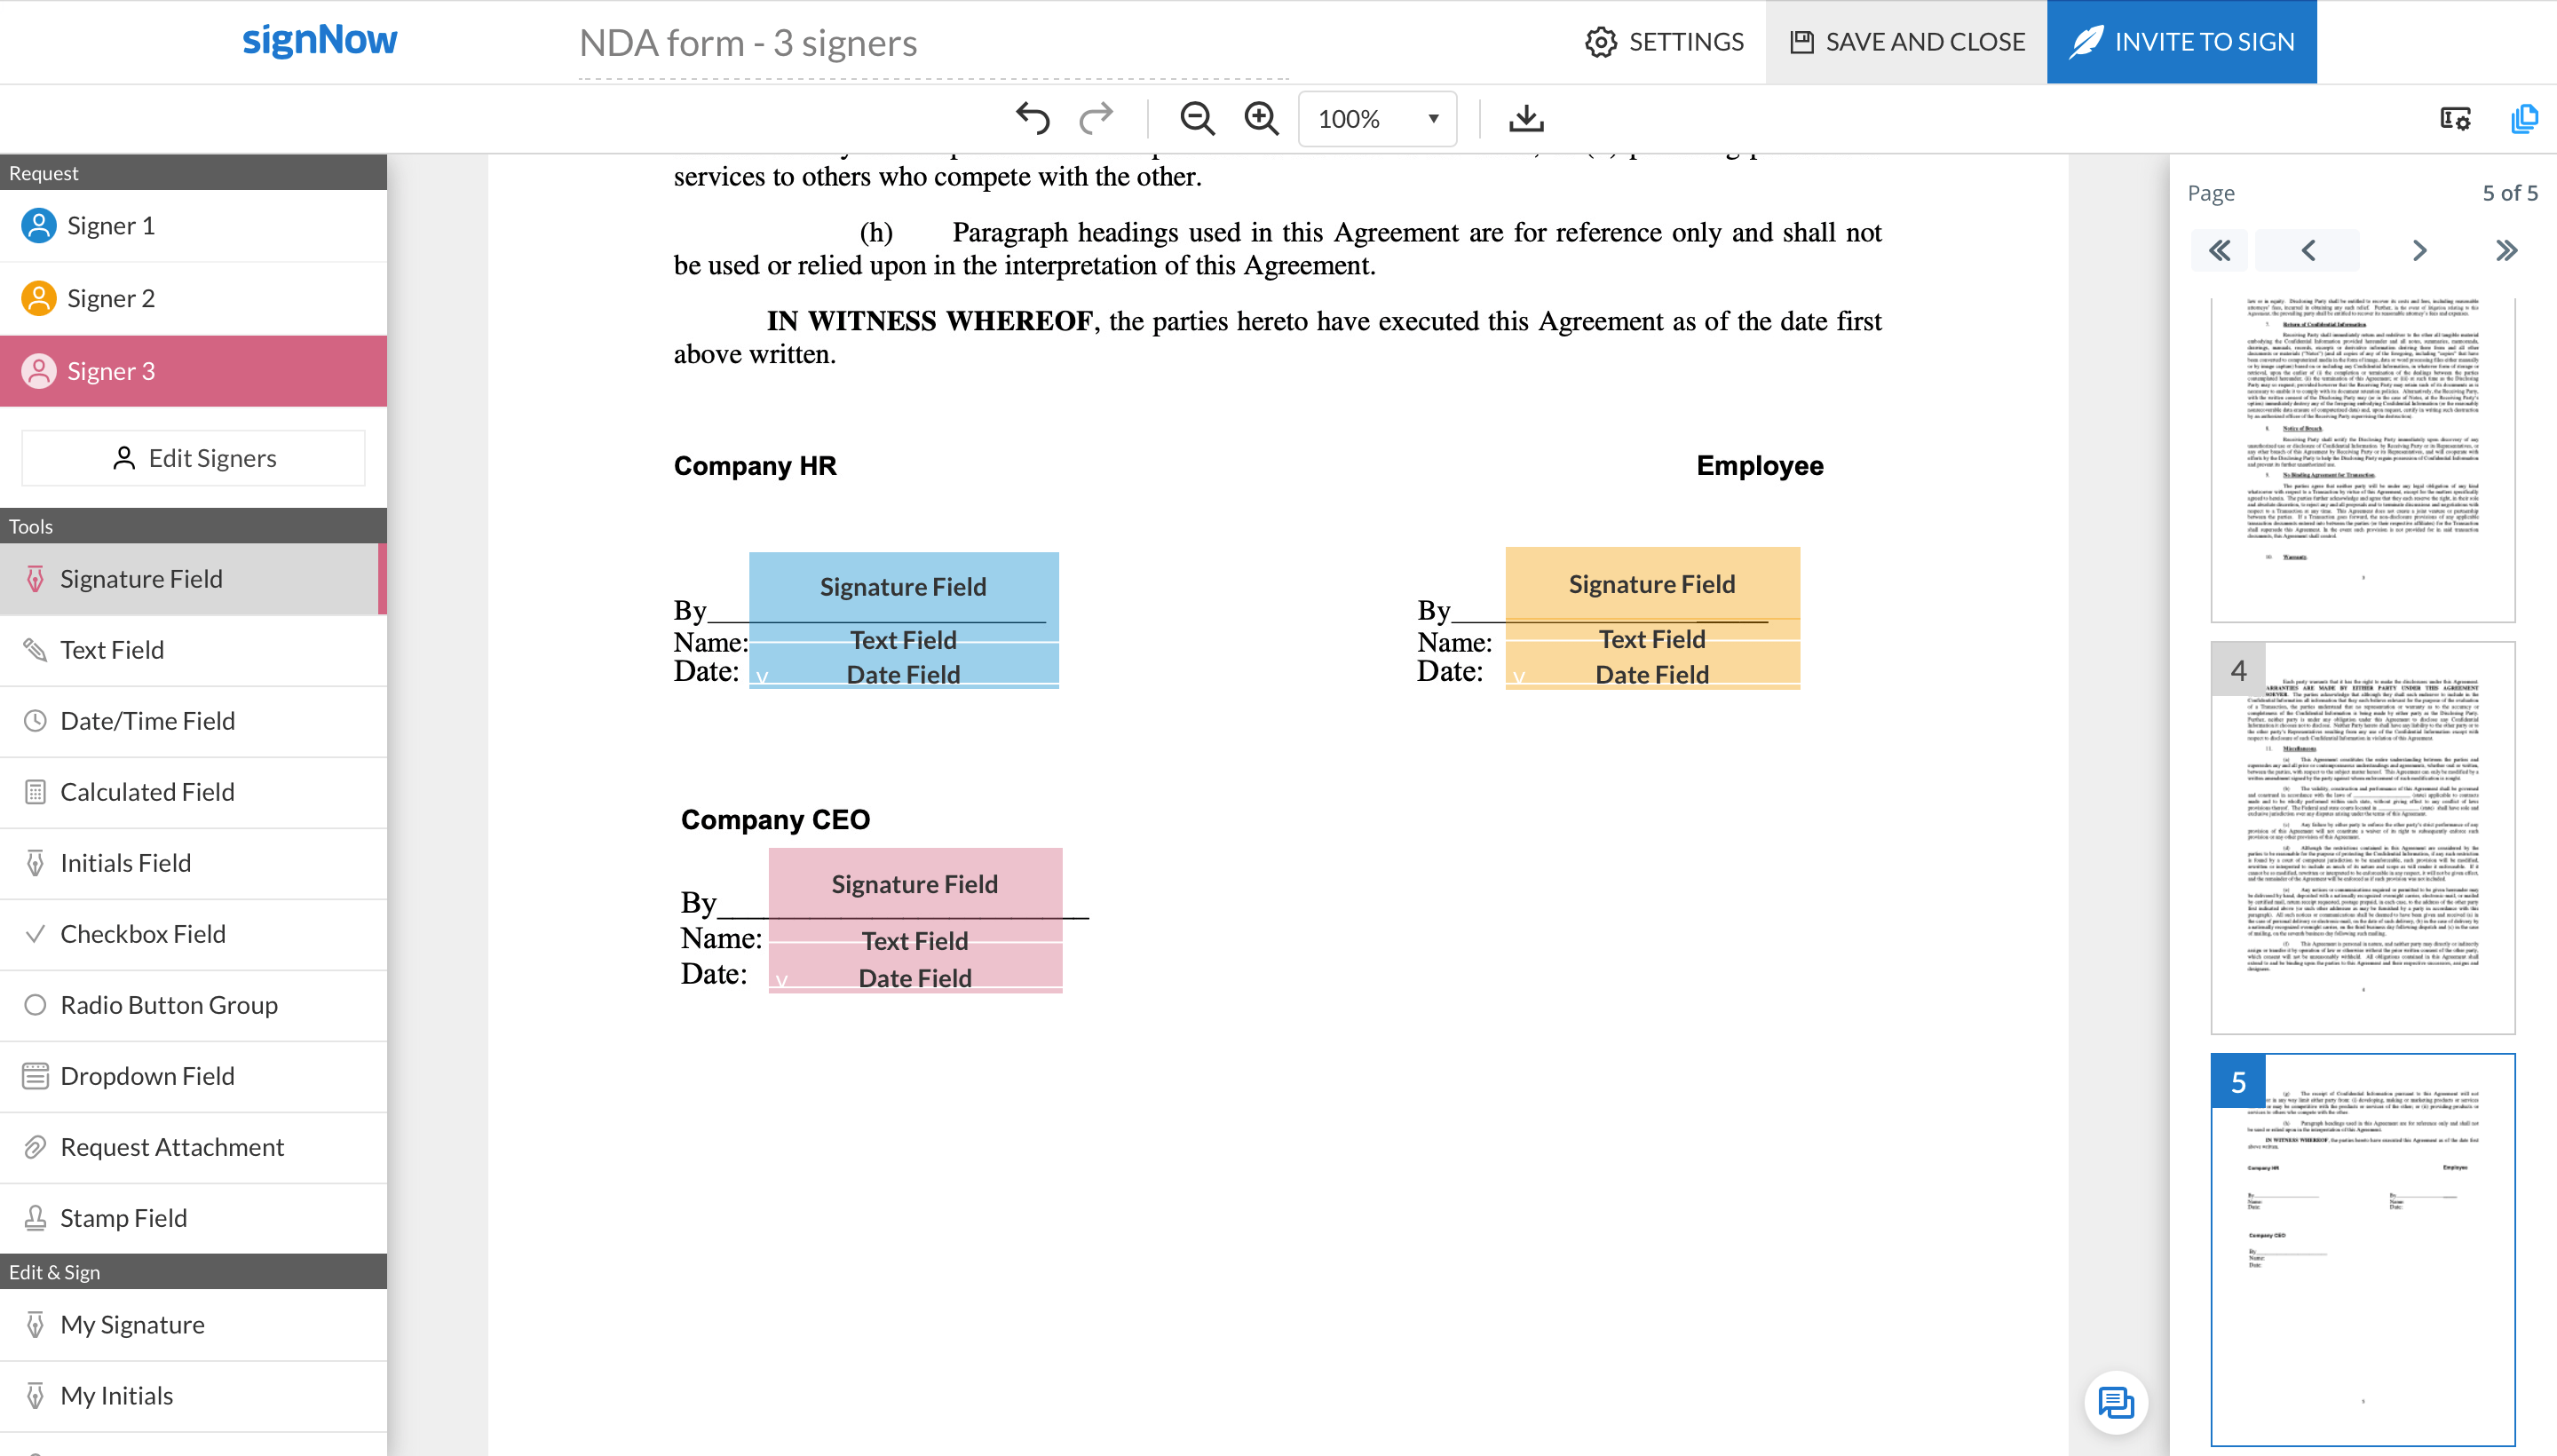
Enter the email addresses of your recipients (unless you did so during the first step). You can edit your email’s subject and message for each signer by clicking Customize Message. If you don’t want to send your eSignature invite to all your recipients at the same time, click In Order and configure your signing steps.
Click the Send Invite button to send out your eSignature request to the assigned recipients.