Create Your Stationery Bill Format in Excel Effortlessly
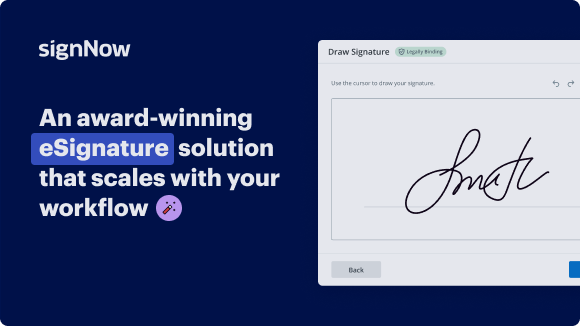
Award-winning eSignature solution


Move your business forward with the airSlate SignNow eSignature solution
Add your legally binding signature
Integrate via API
Send conditional documents
Share documents via an invite link
Save time with reusable templates
Improve team collaboration
See airSlate SignNow eSignatures in action


Understanding the stationery bill format in Excel
The stationery bill format in Excel is a structured template designed for creating invoices or bills in a professional manner. This format typically includes essential elements such as the company logo, contact information, billing details, itemized lists of products or services, and total amounts due. By using this format, businesses can ensure consistency and professionalism in their billing processes.
Creating a stationery bill format in Excel
To create a stationery bill format in Excel, start by opening a new spreadsheet. Set up the header section to include your business name, logo, and contact details. Next, create a table for the billing information, which should include columns for item description, quantity, unit price, and total price. Ensure that the total amount due is clearly displayed at the bottom of the table. This layout not only enhances readability but also ensures that all necessary information is included.
Customizing your stationery bill format
Customization is key to making your stationery bill format reflect your brand identity. You can adjust fonts, colors, and borders to match your company’s branding. Additionally, consider adding fields for payment terms, due dates, and any notes relevant to the transaction. This personalization helps in building a professional relationship with clients and can improve payment processing times.
Using Excel features to enhance your stationery bill
Excel offers various features that can enhance your stationery bill format. Utilize formulas to automatically calculate totals and taxes, ensuring accuracy in billing. Conditional formatting can highlight overdue payments, making it easier to manage accounts receivable. You can also use data validation to create dropdown lists for item descriptions, streamlining the billing process and reducing errors.
Saving and sharing your stationery bill format
Once your stationery bill format is complete, save it as a template in Excel for future use. This allows you to quickly generate new bills without starting from scratch. When sharing your completed bills, consider saving them as PDF files to preserve formatting and ensure that recipients can easily view and print the documents. This method enhances professionalism and security in your billing practices.
Best practices for using your stationery bill format
To maximize the effectiveness of your stationery bill format, maintain a consistent style across all invoices. Ensure that all information is accurate and up-to-date before sending bills to clients. Regularly review and update your template to reflect any changes in pricing or services offered. By following these best practices, you can improve your billing efficiency and foster better client relationships.
airSlate SignNow solutions for better efficiency
Our user reviews speak for themselves


Why choose airSlate SignNow
-
Free 7-day trial. Choose the plan you need and try it risk-free.
-
Honest pricing for full-featured plans. airSlate SignNow offers subscription plans with no overages or hidden fees at renewal.
-
Enterprise-grade security. airSlate SignNow helps you comply with global security standards.

Template for stationery invoice in Excel
Designing a stationery invoice template in Excel can streamline your invoicing process and improve your professional appearance. With airSlate SignNow, you can efficiently handle your documents and electronically sign them, making it an ideal solution for companies seeking to enhance productivity and lower expenses.
Instructions for creating a stationery invoice template in Excel
- Launch your web browser and go to the airSlate SignNow website.
- Create a complimentary trial account or log in if you already possess one.
- Choose the document you want to sign or send for signatures.
- If you intend to reuse this document, save it as a template for later use.
- Modify your document by incorporating fillable fields or required information.
- Insert signature fields for yourself and any recipients required to sign.
- Click 'Continue' to set up and send an electronic signature request.
By leveraging airSlate SignNow, companies can take advantage of a comprehensive feature set that provides an outstanding return on investment. The platform is crafted to be intuitive and scalable, making it suitable for small to mid-sized organizations.
With clear pricing and no concealed charges, airSlate SignNow ensures you are fully aware of your costs. Additionally, their dedicated 24/7 support for all premium plans guarantees help whenever you need assistance. Begin optimizing your document management now!


